Your Cart is Empty


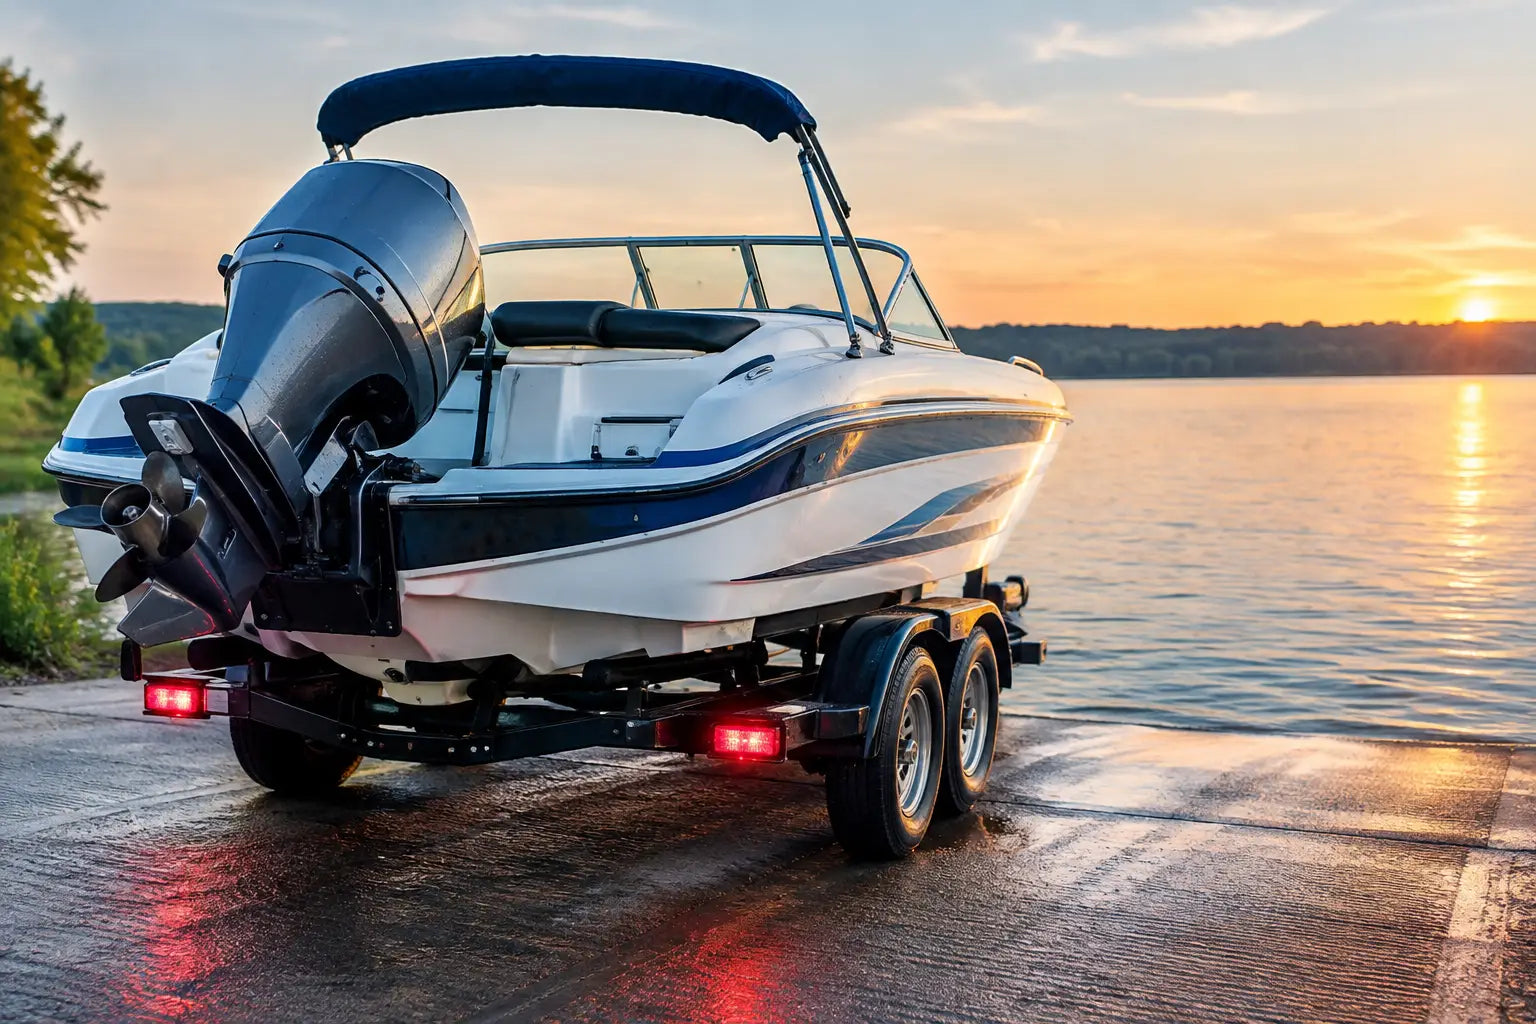

A dead trailer light is more than an annoyance when you are backing down a dark ramp or towing home after sunset. It can turn a good day on the water into a roadside problem. This boat trailer lighting guide covers the gear, setup, and checks that help your rig stay visible from the driveway to the launch ramp.
Trailer lights live a hard life. They deal with rain, road spray, vibration, gravel, and repeated trips into the water. The right system does not need to be complicated, but it does need to be matched to your trailer, protected from corrosion, and tested before you leave.
For most boat trailers, the basic lighting package includes two rear combination lights with tail, brake, and turn functions, plus side marker and clearance lights where required. A white license plate light is also needed to keep the plate visible at night. Wider and longer trailers often need additional clearance lights, while trailers over a certain width may need identification lights at the rear.
Federal lighting standards set the baseline, but state requirements and trailer size can affect exactly what your setup needs. If you are replacing lights on an existing trailer, use the original layout as a practical starting point. When building, modifying, or restoring a trailer, check the requirements that apply where you register and tow it.
The big choice is usually incandescent versus LED. Incandescent lights cost less upfront and are easy to find, but bulbs burn out and fixtures can struggle with moisture over time. LED lights cost more initially, yet they use less power, last longer, and generally handle vibration better. For a trailer that sees frequent launches or sits outside, sealed LED fixtures are usually money well spent.
Choose lights labeled for submersible marine use. “Water-resistant” may be fine for a utility trailer, but a boat trailer needs components intended to handle regular immersion. Look for sealed housings, corrosion-resistant hardware, and wiring connections designed for wet environments.
A reliable light is only as good as the wiring behind it. Many lighting failures trace back to a corroded connector, weak ground, or damaged wire rather than the lamp itself. Plan the wiring system as a complete chain from the tow vehicle plug to every fixture.
Most small boat trailers use a flat four-pin connector. It handles ground, running lights, left turn/brake, and right turn/brake circuits. Trailers with electric brakes, reverse lights, or other added functions may use a five-pin, seven-pin, or other connector style. Match the trailer plug to the vehicle connection and the functions your trailer actually uses. An adapter can get you home in a pinch, but a properly matched connector is the better long-term move.
Run marine-grade wire inside the trailer frame or along protected routes whenever possible. Keep it away from sharp edges, moving suspension parts, and areas where bunks or rollers can rub it. Use clips or loom to keep wire from sagging. A dangling wire can catch debris on the road or get pinched during loading.
Connections deserve extra attention. Standard twist-on connectors and bare crimp terminals do not hold up well around water. Use heat-shrink butt connectors, marine-grade crimp terminals, or solder-and-seal connections. Heat-shrink tubing creates a tighter barrier against moisture and helps prevent the green corrosion that slowly weakens a circuit.
Your lights need a clean return path to work consistently. On older trailers, the frame is often used as the ground path. That can work, but paint, rust, salt, and loose bolts can interrupt the connection. A light may work one day, flicker the next, then fail completely after a launch.
The more dependable approach is to run a dedicated ground wire from the connector to each light. This avoids relying on the trailer frame to carry current through corroded joints. If your setup uses frame grounding, clean the metal contact point to bare steel, use a secure fastener, and protect the finished connection with corrosion inhibitor.
Do not assume a bright-looking light has a good ground. Test it. Dim lights, lights that blink when another circuit is activated, or one side that works only occasionally are classic grounding symptoms.
Test your lights before every tow, not when you are already lined up behind traffic at the ramp. With the trailer connected to the tow vehicle, turn on the running lights and walk around the trailer. Then test both turn signals, brake lights, and hazard flashers. Ask someone to press the brake pedal, or use a simple trailer light tester when you are working alone.
Check for more than whether a bulb turns on. Make sure the left signal flashes only on the left, the right signal flashes only on the right, and both brake lights illuminate brightly. Verify the license plate light and side markers too. A missing marker light may seem minor, but it makes the trailer harder to judge at night, especially on narrow roads and in rain.
If a circuit does not work, diagnose from the front back. Start with the tow vehicle connector. Look for bent pins, dirt, corrosion, or a loose fit. Next, inspect the trailer plug and cable for cuts or crushed sections. If the plug is clean and power is present, move to the nearest connection and work toward the failed light.
A basic multimeter or test light is one of the best tools to keep in your garage or tow vehicle. It can tell you whether power reaches the connector, whether a wire is broken, and whether the ground is carrying current. Replacing random parts is frustrating and expensive. Testing first gets you closer to the actual fault.
Freshwater is easier on trailer lights than saltwater, but neither is harmless. Every launch exposes connectors and hardware to moisture. Saltwater accelerates corrosion dramatically, so coastal boaters should make light care part of every trip.
After retrieving the boat, rinse the trailer thoroughly with fresh water. Pay close attention to light housings, the plug, wiring junctions, axle areas, and the rear crossmember. Let the connector dry before covering or storing it. Trapping moisture inside a cap or bag can create the same problem you are trying to avoid.
A small amount of dielectric grease on connector terminals helps repel moisture and reduce corrosion. It should be used sparingly on clean terminals, not packed into a dirty plug. If terminals are green, pitted, or loose, replace the connector rather than hoping grease will fix an unreliable connection.
Inspect the wiring at least a few times each season. Look for cracked insulation, loose clips, pinched wire near the tongue, and fixtures that are filling with water. Replace damaged components before a long trip. A $20 repair at home beats troubleshooting in a wet parking lot after dark.
If you tow before sunrise, return after sunset, or regularly travel long distances, a few upgrades can make the trailer easier to use and easier for others to see. LED side markers improve visibility along the trailer’s length, while a bright LED license plate light keeps the rear legally visible. Reflective tape adds passive visibility even when the trailer is parked or a light circuit fails.
Guide-on post lights can make a real difference at dim ramps. They help you see the trailer’s position while backing and give you a clearer target when loading the boat in wind or current. They are not a replacement for required rear lighting, but they are a practical upgrade for early starts and late returns.
Consider a protected junction box near the tongue if your trailer wiring has become a patchwork of old splices. It gives each circuit a clean, serviceable connection point and makes later repairs faster. For heavier trailers with brakes or added accessories, stepping up to a more capable connector can also reduce clutter and improve reliability.
Make lighting part of the same routine as checking your coupler, safety chains, tire pressure, and transom straps. Plug in, test every function, secure the wiring harness, and confirm the cable has enough slack for turns without dragging on the pavement.
Good trailer lights do not make the fishing better, but they give you one less thing to worry about on the way there and back. Set up the system right, keep water and corrosion under control, and your trailer will be ready when the next good weather window opens.