Your Cart is Empty



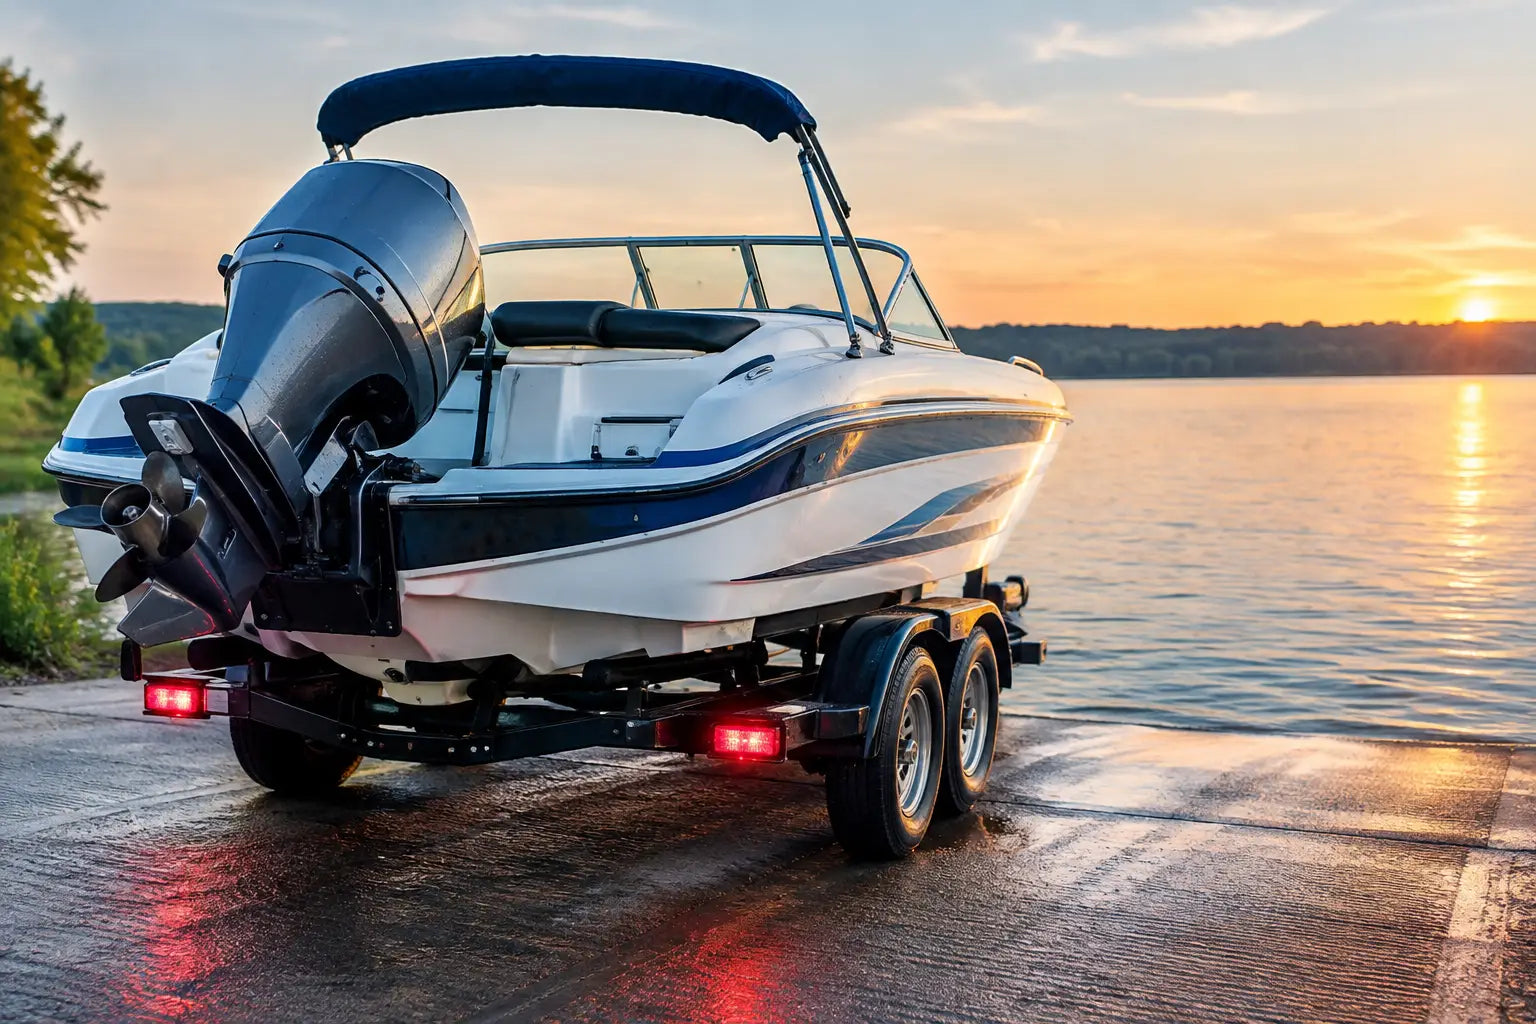
A dead trailer light has a way of showing up at the worst possible time - right before a launch, campsite check-in, or early-morning hunting trip. The good news: most trailer lighting repair jobs come down to a few predictable trouble spots. Work through them in the right order, and you can often get back on the road without replacing the whole harness.
Park on level ground, set the tow vehicle in park, and chock the trailer wheels before you start. Have a helper operate the vehicle lights if possible, or use a brick, stick, or pedal tool to hold the brake pedal when checking brake lights. Keep the trailer plugged into the tow vehicle for initial testing, but turn off the vehicle before disconnecting plugs or handling exposed wiring.
First, identify exactly what has failed. Is one running light out? Do both turn signals flash too quickly? Do brake lights work while running lights do not? A single failed lamp usually points to a bulb, socket, local ground, or damaged wire near that fixture. Several lights failing at once are more likely tied to the connector, tow vehicle fuse, main ground, or a break in the trailer's primary wiring.
Before reaching for wire cutters, inspect what you can see. Look for cracked lenses, water inside a light housing, pinched wire near brackets, bare copper, loose mounting hardware, and green or white corrosion at the plug. Boat trailers deserve extra attention here. Repeated exposure to water, road spray, and ramp conditions can corrode a connection that looked fine last season.
The trailer plug is the best place to start because it connects every lighting circuit to the tow vehicle. Unplug it and check whether the pins are bent, pushed back, caked with dirt, or coated in corrosion. Clean light corrosion with electrical contact cleaner and a small brush. If terminals are badly pitted or loose, replacing the connector is usually a better long-term move than trying to save it.
Then inspect the vehicle-side socket as well. A perfect trailer plug cannot overcome a corroded tow vehicle connector or a blown vehicle fuse. Check the owner’s manual or fuse-box diagram if no trailer functions work. Some vehicles use separate fuses for left turn, right turn, brake, and running-light circuits, so one working signal does not prove every circuit is healthy.
A basic 12-volt test light or multimeter makes diagnosis much faster. With the vehicle lights activated, test the appropriate pins at the vehicle socket. If power is missing there, the issue is on the vehicle side. If power is present at the socket but not at the trailer light, follow the trailer wiring path.
For most common flat-four trailer connectors, the circuits are typically white for ground, brown for running lights, yellow for left turn and brake, and green for right turn and brake. Wire colors are useful clues, not guarantees. Previous repairs, aftermarket harnesses, and older trailers can differ, so verify before making a permanent connection.
Poor grounding causes more strange trailer-light behavior than almost anything else. Dim lights, lights that blink when a different function is activated, both turn signals flashing together, or lights that work only when the trailer hits a bump all point toward a ground problem.
The main ground wire is generally white and attaches to the trailer frame near the coupler. That connection needs clean bare metal, a tight fastener, and protection from moisture once secured. Rust, paint, grease, and powder coating can interrupt the electrical path even when the screw feels tight. Remove the fastener, clean the contact area to bare metal, reinstall it firmly, and apply dielectric grease around the finished connection to help resist corrosion.
Do not assume the frame itself always provides a reliable ground all the way to the rear lights. Painted frames, aluminum trailers, folding tongues, and heavily corroded steel can create resistance between sections. If rear lights keep acting up, run a dedicated ground wire from the main harness to each light assembly. It takes more time up front, but it can eliminate recurring problems on trailers that see rough roads or frequent water exposure.
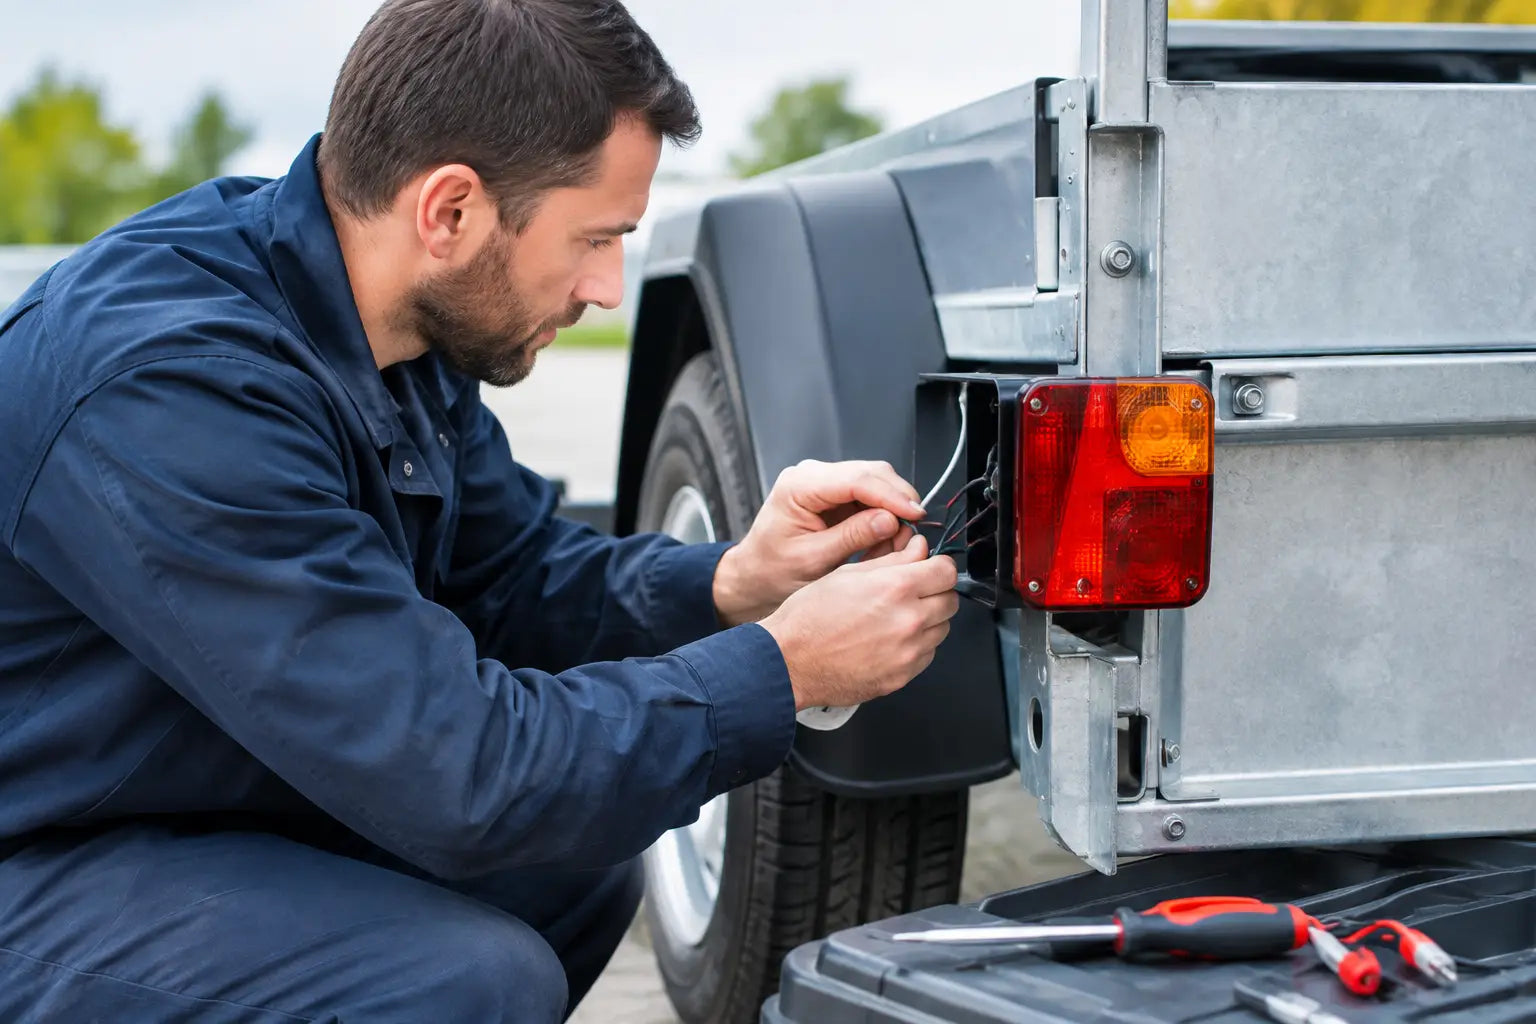
If one lamp is out and power reaches its wire, focus on the fixture. Remove the lens and inspect the bulb. A broken filament, darkened glass, loose base, or corrosion on the contacts calls for replacement. Match the bulb number or use a compatible LED replacement designed for your housing.
LED lights use less power, last longer, and handle vibration well, which makes them a solid upgrade for utility trailers, campers, and boat trailers. The trade-off is compatibility. Mixing LED and incandescent lights can sometimes create fast-flash turn signals or trouble with older tow-vehicle wiring. In those cases, an LED-compatible flasher, resistor, or updated converter may be needed.
Look closely at the socket, too. Moisture can corrode the metal contacts or weaken the spring tension that holds the bulb in place. If the socket is damaged, replacing the assembly is often more dependable than rebuilding a heavily corroded unit. Sealed LED fixtures remove the bulb-and-socket issue, though they must be replaced as a complete unit when they fail.
Trailer wiring rarely fails in the middle of a protected run. It fails where it moves, rubs, flexes, or gets hit. Inspect the tongue where the harness meets the plug, the axle area, fender mounts, hinge points on dump or folding trailers, and the rear crossmember where wires feed into the lights.
Watch for these common damage patterns:
Route repaired wiring inside split loom where practical, secure it with cushioned clamps or zip ties rated for outdoor use, and keep it away from tires, suspension travel, exhaust heat, and sharp edges. Leave enough slack near moving sections, but not enough for the harness to drag.
After a repair, test running lights, left and right turn signals, brake lights, hazard flashers, reverse lights if equipped, and electric brake functions where applicable. Walk around the trailer while each circuit is on. Check that both sides are equally bright and that activating one function does not cause another light to dim or flash.
This is also the right time to inspect reflectors, lens visibility, and wire security. A light may work in the driveway but fail after 20 miles if the harness is loose enough to rub against a tire or shake free from a connector. Give each light and wire run a gentle tug. Nothing should wiggle, hang, or pull loose easily.
If the wiring tests well but the lights still behave unpredictably, consider the trailer connector type and towing setup. A brake controller, 4-pin-to-7-way adapter, damaged converter, or vehicle-specific wiring module can introduce another failure point. At that stage, isolating the trailer with a dedicated trailer-light tester or testing it behind another vehicle can tell you whether to keep troubleshooting the trailer or shift attention to the tow vehicle.
A few low-cost supplies can turn a roadside delay into a quick fix. Keep spare bulbs or a replacement LED light, fuses, a spare connector, heat-shrink connectors, electrical tape, dielectric grease, a compact multimeter or test light, wire strippers, crimpers, and zip ties in your tow vehicle. For longer trips, add a short length of bonded trailer wire and a small roll of split loom.
Take five minutes to check lights before loading the boat, packing the camper, or hitching up the utility trailer. That small habit protects your gear, makes you easier to see after dark, and lets the trip start with the kind of reliability that gets you outside more.