Your Cart is Empty



A good pair of waders can carry you through cold spring creeks, marshy duck hunts, and long days on the bank. But mud in the seams, salt on the fabric, and damp boots in the truck can shorten their working life fast. Knowing how to clean waders properly helps keep them waterproof, odor-free, and ready for the next cast or crossing.
The goal is not to scrub them like work coveralls. Waders rely on coatings, seam tape, adhesives, and breathable membranes that need a lighter touch. Clean them after hard use, dry them completely, and deal with small problems before they become leaks on a day you planned to spend on the water.
Start by checking the care label inside your waders. Manufacturers may have different instructions for breathable fabric, neoprene, rubber, and PVC models. When the label and general advice conflict, follow the label.
Before washing, turn the waders inside out if possible and empty every pocket. Remove gravel, fishing line, used hand warmers, and anything else that can trap moisture or snag the lining. Close zippers, secure buckles, and brush off loose dirt with a soft brush or damp cloth.
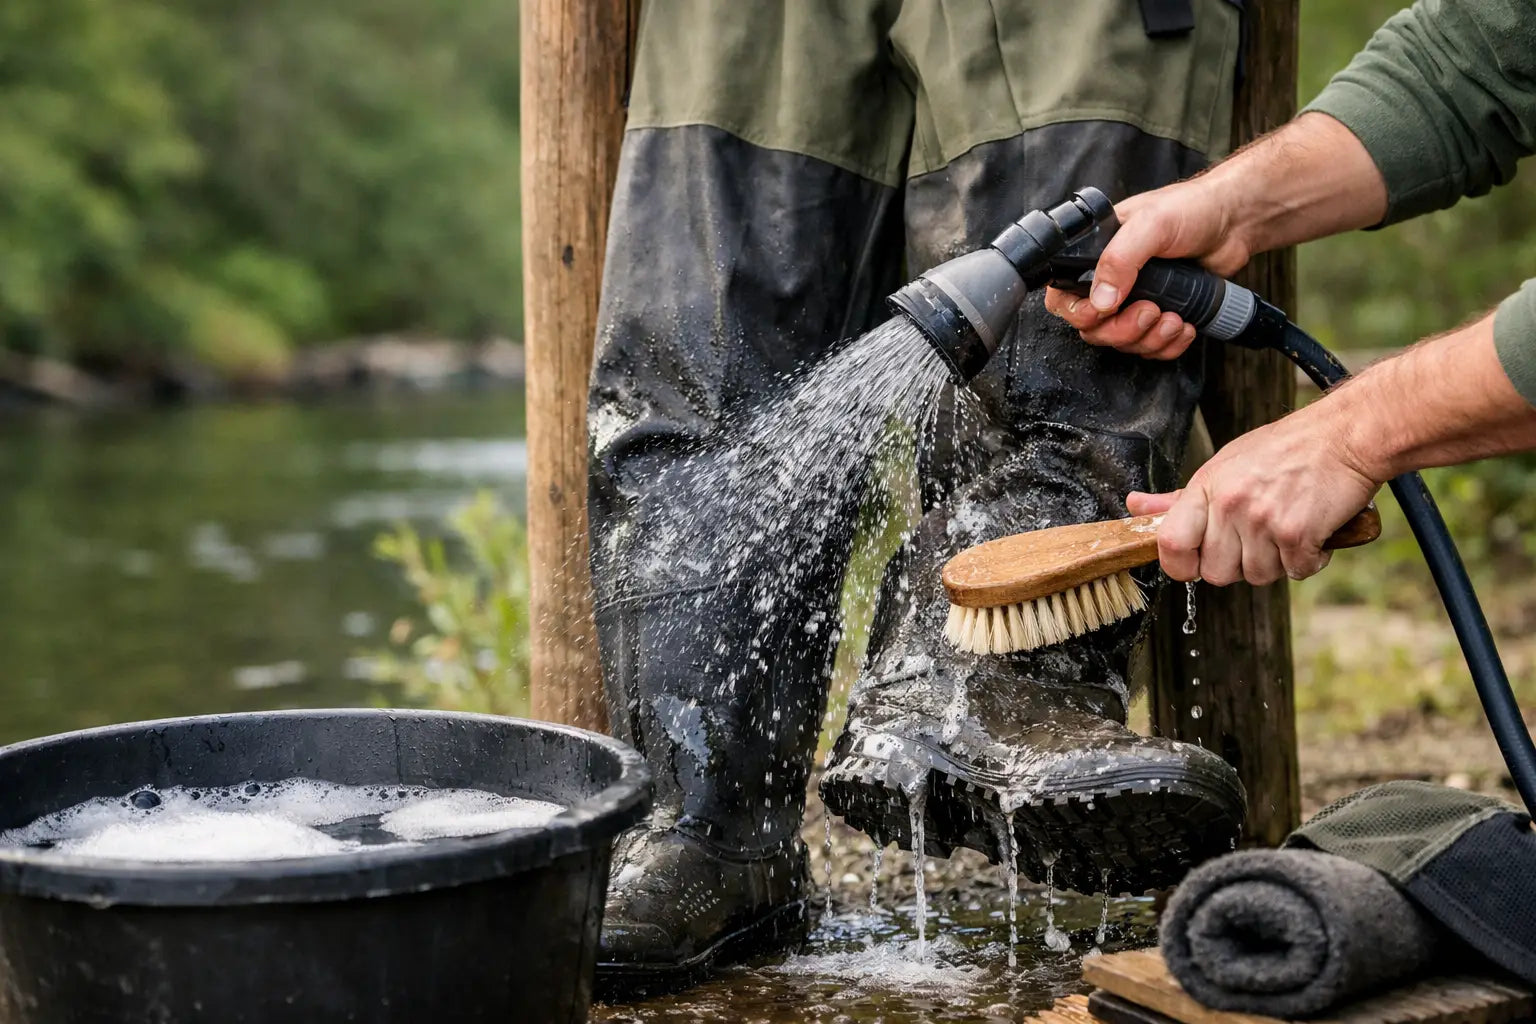
For most waders, hand washing is the safest route. Fill a tub, large sink, or clean utility basin with cool or lukewarm water. Hot water can weaken adhesives and affect waterproof coatings. Add a small amount of mild soap designed for technical outdoor fabrics, or use a gentle, fragrance-free soap if that is what you have on hand.
Work the water across the fabric with a soft sponge or cloth. Pay extra attention to the knees, seat, cuffs, suspenders, gravel guards, and boot connection points. These are the places that collect grit and body oils. Do not use abrasive pads, stiff brushes, bleach, stain remover, or fabric softener. They can damage the material or leave residue that hurts breathability.
Rinse thoroughly until the water runs clear and no soap remains. Soap left behind can attract dirt and make breathable waders feel clammy. Hang the waders to drain for a few minutes before moving to the drying step.
Usually, hand washing is the safer choice. Some breathable wader makers allow a gentle machine cycle, but only with cold water, a mild technical cleaner, and no agitator. If your machine has a center agitator, skip it. The twisting action can stress seams, suspenders, and boot attachments.
Never put waders in the dryer unless the manufacturer specifically says it is safe. High heat is tough on seam tape, waterproof laminates, and glue. A little patience on the drying rack costs less than replacing a damaged pair.
The kind of trip you took should guide how much cleaning your waders need. A quick freshwater creek crossing may only require a rinse and dry. Wading tidal flats, boating in saltwater, or slogging through a muddy marsh calls for a more complete cleanup.
Saltwater deserves immediate attention. Salt crystals pull moisture from materials and can corrode metal zipper parts, lace hooks, and hardware. Rinse the outside, inside, boots, and suspenders with fresh water as soon as you get home. Do not forget the soles. Sand and salt trapped in tread can work their way into seams and make traction less dependable.
For mud, let thick clumps soften under a gentle stream of water instead of grinding them off while dry. Then use a soft brush around boot treads and gravel guards. If your waders have felt soles, avoid aggressive scraping that can loosen the material.
Odor usually comes from damp storage, sweat, bacteria, or organic debris. A complete wash and full dry often solve the problem. If the odor stays, wash again with a cleaner made for outdoor technical fabrics. Avoid covering odors with strong perfume sprays. They do not solve the moisture issue, and they are a poor fit for anglers and hunters who want to keep scents low in the field.
Drying is where good wader care often falls apart. A pair may look dry on the outside while the lining, boots, and pockets are still damp. Store them that way and mildew, odor, and material breakdown can follow.
First, hang waders inside out in a shaded, well-ventilated space. A shower rod, gear rack, or wide hanger works well, as long as it supports the waders without pulling hard on the suspenders. Keep them out of direct sunlight. UV exposure can fade and weaken materials over time.
Once the inside is dry, turn the waders right side out and let the exterior dry too. Open any zippers and pockets so air can circulate. Bootfoot waders need extra time because moisture can stay deep inside the boot. A boot dryer set to no heat or low heat can help, but do not blast the boots with high heat from a heater, hair dryer, or vehicle vent.
Never leave wet waders folded in a tote, stuffed in a boat compartment, or piled in the back of your truck. That shortcut is a reliable way to create a smell you will notice before you even reach the launch ramp.
Cleaning gives you a clear look at areas that are normally hidden under mud and water. Check seams, knees, the seat, crotch, ankles, and boot connections for abrasion, peeling seam tape, punctures, or worn fabric. Look inside too. A dark spot, discoloration, or damp patch can point to a slow leak.
Small pinholes are easier to repair while they are clean and dry. Use a wader repair adhesive or patch that is compatible with your wader material. For larger damage, failed seams, or leaks around a boot attachment, professional repair may be the better call. A quick patch can get you through a weekend, but it is not always the right long-term fix.
Also inspect zippers if your waders have them. Rinse away grit, gently clean the teeth with a soft brush, and use zipper lubricant only if the manufacturer recommends it. Forcing a gritty zipper can turn a minor maintenance job into an expensive repair.
Cleaning waders is also part of protecting the waters you enjoy. Mud, plant fragments, algae, and tiny aquatic organisms can hitch a ride in boot tread, gravel guards, and folds of fabric. Before moving to a new lake, river, or watershed, inspect your waders closely and remove visible debris.
Drain all water from boots and gear, then clean and dry everything fully before the next outing. Drying is particularly useful because many invasive species cannot survive after gear has dried completely. Local rules can be stricter in some areas, especially around popular fishing and boating waters, so follow posted decontamination requirements.
When the season slows down, store waders clean, dry, and away from heat. A cool closet or gear room is better than an attic, uninsulated garage, or the trunk of a vehicle. Avoid folding them sharply for months at a time, especially around knees, boots, and seam-taped areas.
Hang them loosely when space allows. If you need to store them folded, use broad, gentle folds and make sure no hard gear is resting on top. Keep fuel, solvents, insect repellent, and other harsh chemicals away from your waders. Vapors and spills can damage waterproof materials even when you do not notice the problem right away.
A few minutes of care after each trip keeps your gear dependable when conditions turn cold, wet, and unpredictable. Clean them, dry them, inspect them, then pack them with confidence. That is one less thing standing between you and the next good day outside.