Your Cart is Empty


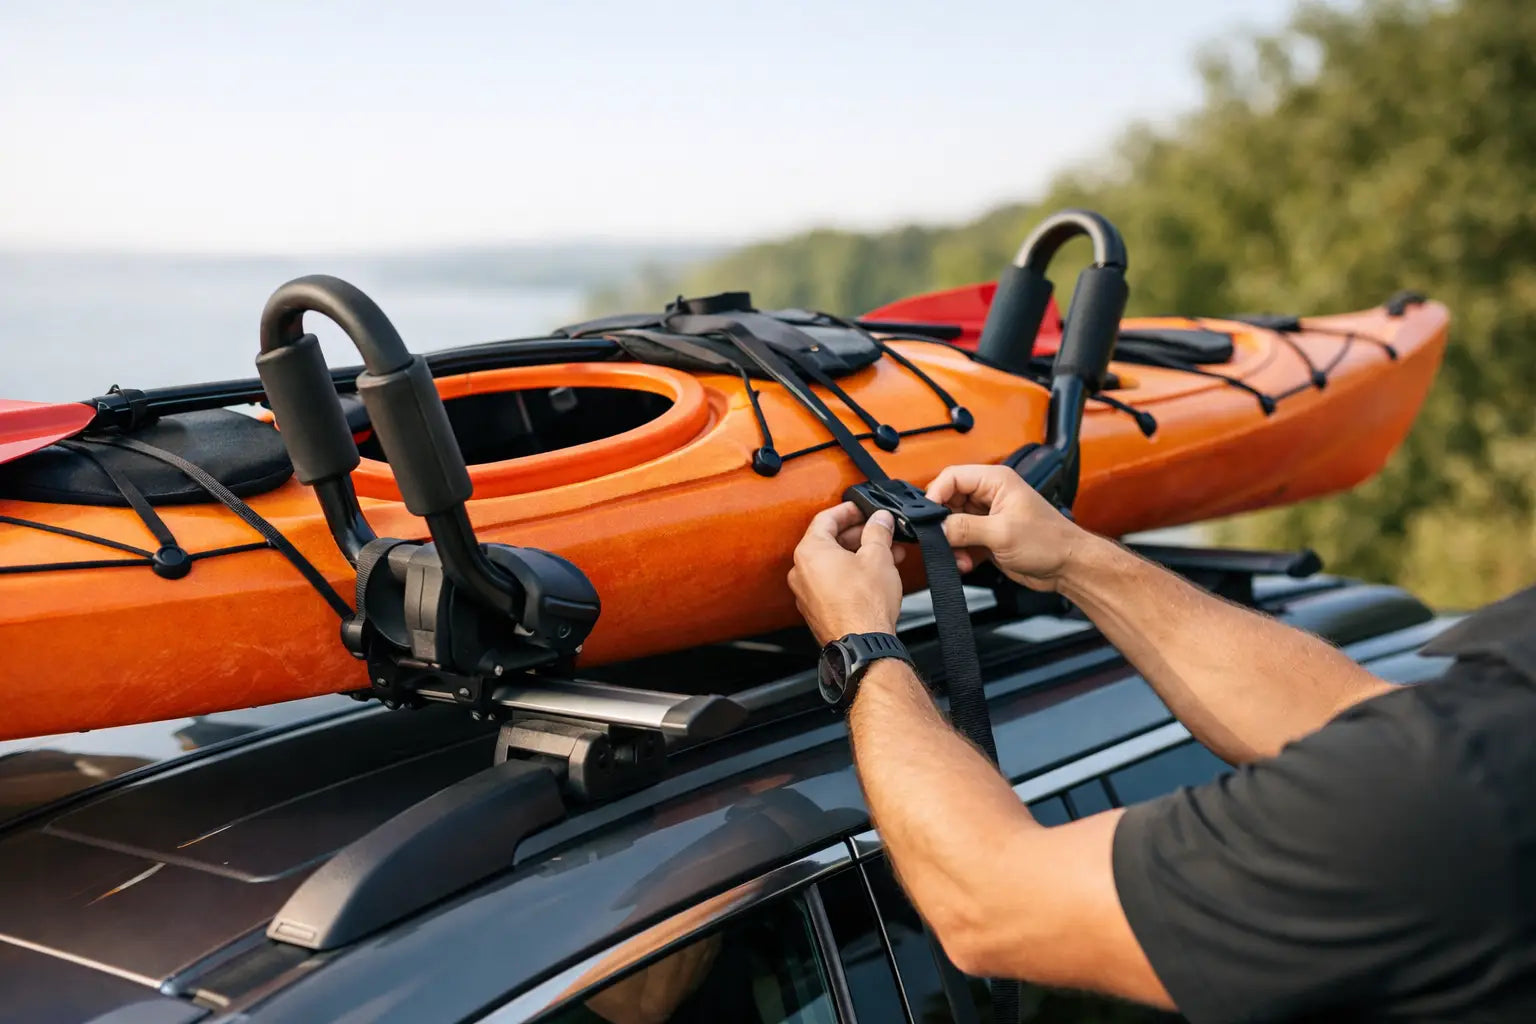

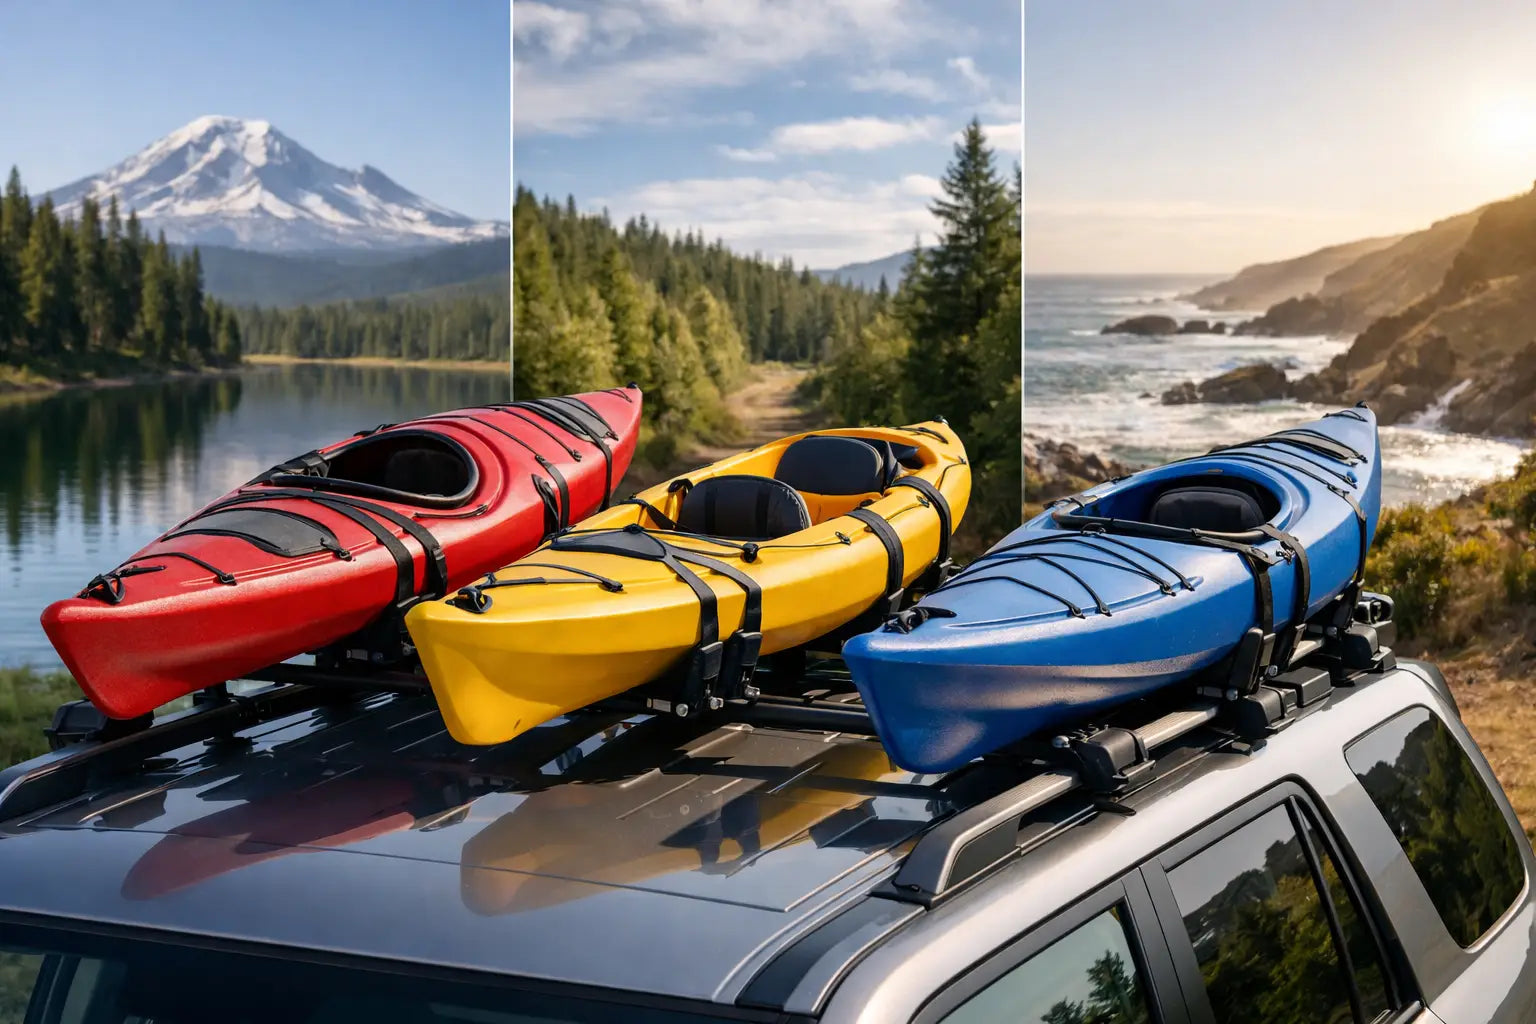
A loose kayak at highway speed can turn a great paddling day into a serious problem fast. Learning how to install a kayak roof rack correctly gives your boat a stable ride, protects your vehicle, and makes loading up for the next lake, river, or coastal launch much easier.
The right setup depends on your vehicle, kayak weight, and how often you paddle. A lightweight recreational kayak may ride securely on basic crossbars with foam blocks, while a heavier fishing kayak needs a purpose-built carrier, solid tie-down points, and a careful look at your roof capacity. Start with the gear you have, then build a setup that is secure enough for the trips you actually take.
Before mounting anything, check your vehicle owner's manual for its dynamic roof load rating. This is the amount of weight the roof can safely carry while driving, not while parked. Include everything in that calculation: crossbars, kayak carrier, kayak, tie-down straps, and any other gear loaded above the vehicle.
Next, identify your roof style. Many SUVs, wagons, and crossovers have raised side rails that accept clamp-on crossbars. Flush rails usually require vehicle-specific mounting feet. Bare roofs need a fit kit designed for the make, model, and year of your vehicle. Trucks may use bed extenders, utility racks, or cab-height crossbars depending on kayak length and bed configuration.
Do not assume a set of bars fits because it looks close. Crossbar spacing, roof contour, rail shape, and door-frame dimensions all matter. A properly matched rack keeps the load centered and distributes pressure where the vehicle is designed to handle it.
Crossbars are the foundation, but the carrier determines how the hull sits. The best choice is usually based on kayak shape, weight, and loading height.
J-style carriers hold the kayak on its side and free up bar space for a second boat, cargo box, or fishing gear. They are a practical choice for two-kayak households, though lifting a boat onto its edge can be tough on tall vehicles.
Saddle-style carriers support the hull in an upright position. They are easier on many recreational and fishing kayaks because the boat rests in a more natural position. They also make loading simpler when you are working alone.
Roller-assisted carriers add rear rollers or padded loading aids. They cost more, but they can save your shoulders and prevent hull damage when loading heavier boats. For occasional trips with a light kayak, foam blocks may work, but they are not a replacement for a secure rack system on regular highway travel.
Set aside enough time to install the system without rushing. Most rack problems come from skipped measurements, uneven bars, or straps tightened before the carrier is positioned correctly.
Mount the front and rear crossbars according to the rack manufacturer's instructions. Keep them level and as far apart as your vehicle allows within the approved mounting area. Wider bar spacing gives the kayak more support and reduces side-to-side movement.
Measure from a fixed point on the vehicle, such as the top of the windshield or a roof seam, to make sure both sides are even. Tighten each mounting foot gradually, alternating sides so the bar does not shift out of square. If your rack uses a torque tool or tension indicator, use it. Guessing can leave the rack too loose or overtightened.
Give each crossbar a firm shake when you are done. It should feel planted, with no sliding, rocking, or visible gap at the mounting points.
Place the carrier on the crossbars before fully tightening the clamps. Most single-kayak carriers should sit near the center of the roof, with the front and rear supports aligned across the bars. For two carriers, leave enough clearance for hulls, straps, and loading access.
Keep the carrier away from a sunroof, antenna, or hatch area that could be blocked or damaged. If the kayak will overhang the windshield significantly, moving the rack slightly rearward may improve wind behavior, provided it remains within the vehicle and rack manufacturer's approved positions.
Tighten the carrier hardware evenly. The mounts should not rotate when you push on them, but avoid crushing plastic clamps or stripping bolts. Recheck all knobs, bolts, and locking levers after the first drive because new hardware can settle under load.
Follow the kayak manufacturer's storage and transport guidance when available. Many plastic kayaks travel well hull-up in saddles, while J-cradles carry the kayak on its side. Avoid resting a kayak on an unsupported sharp edge or putting concentrated pressure on a thin hull for long periods.
If you are loading alone, use a rear loading mat, roller attachment, or a towel placed carefully at the back of the roof to protect paint. Lift the bow onto the rear support first, then slide the kayak forward with control. Do not drag the hull across bare metal, glass, or a dirty roof.
Position the kayak so its weight is balanced between the crossbars. A little overhang at the front and rear is normal, especially with 10- to 14-foot boats. Excessive rear overhang may block your view, interfere with a hatch, or create more bounce on rough roads.
Use cam buckle straps made for paddlesports. Run one strap around the kayak and the carrier or crossbar at the front, then repeat at the rear. The strap should hold the boat down firmly without denting the hull.
Avoid ratchet straps unless the carrier manufacturer specifically recommends them. They make it easy to apply too much force, particularly on polyethylene kayaks, and can deform the hull or damage the rack.
Place buckle pads or twist the strap once before tightening. A flat strap can hum loudly in the wind, while a single twist reduces vibration. Secure the loose strap ends so they cannot flap against the vehicle or work their way into a wheel, door, or exhaust area.
Bow and stern lines are backup security, not a substitute for properly tightened main straps. They help control fore-and-aft movement, especially with long kayaks, crosswinds, higher speeds, or rough roads.
Attach the lines to strong vehicle points such as factory tow loops, a frame-mounted tie-down point, or hood-loop anchors made for this purpose. Never hook to plastic trim, a bumper cover, or a random suspension component. At the kayak end, use a secure grab handle or designated attachment point.
Tension these lines until they are snug, not guitar-string tight. Over-tightening can pull the boat out of its carrier or put unnecessary stress on the hull. The goal is to limit movement without forcing the kayak into a different shape.
Walk around the vehicle before every trip. Grab the kayak near the bow and stern and try to move it side to side. Some small movement in the suspension is normal. Sliding, shifting in the carrier, or a loose strap is not.
Check that all cam buckles are closed, strap tails are secured, and bow and stern lines are clear of headlights, tires, and hot exhaust components. Make sure the rear hatch opens safely, or plan to load your cooler, paddle, PFD, and dry bags before securing the boat.
After driving about 10 to 15 minutes, stop in a safe place and inspect the setup again. Wind pressure and road vibration can settle straps. For long highway runs, check it at fuel stops and whenever weather changes.
The most common mistake is choosing gear based only on price. Affordable gear is a smart move when it fits correctly and matches your load, but an inexpensive carrier that is wrong for your roof or kayak will cost more in frustration and risk.
Another issue is relying on only two straps over the hull. Those straps may feel tight in the driveway, yet a sudden stop or a gust of crosswind can create forces they were not meant to manage alone. Use bow and stern tie-downs for added control.
Finally, do not forget total height. A kayak on an SUV can turn an ordinary parking garage, drive-through, or low branch into an expensive obstacle. Know your clearance before you pull away.
A dependable rack setup means less time wrestling gear in the driveway and more time at the put-in. Build it carefully, check it often, and let every mile take you closer to the water. Outdoor Up can help you gear up for better adventures with the practical transport essentials that keep your next paddle trip moving.