Your Cart is Empty


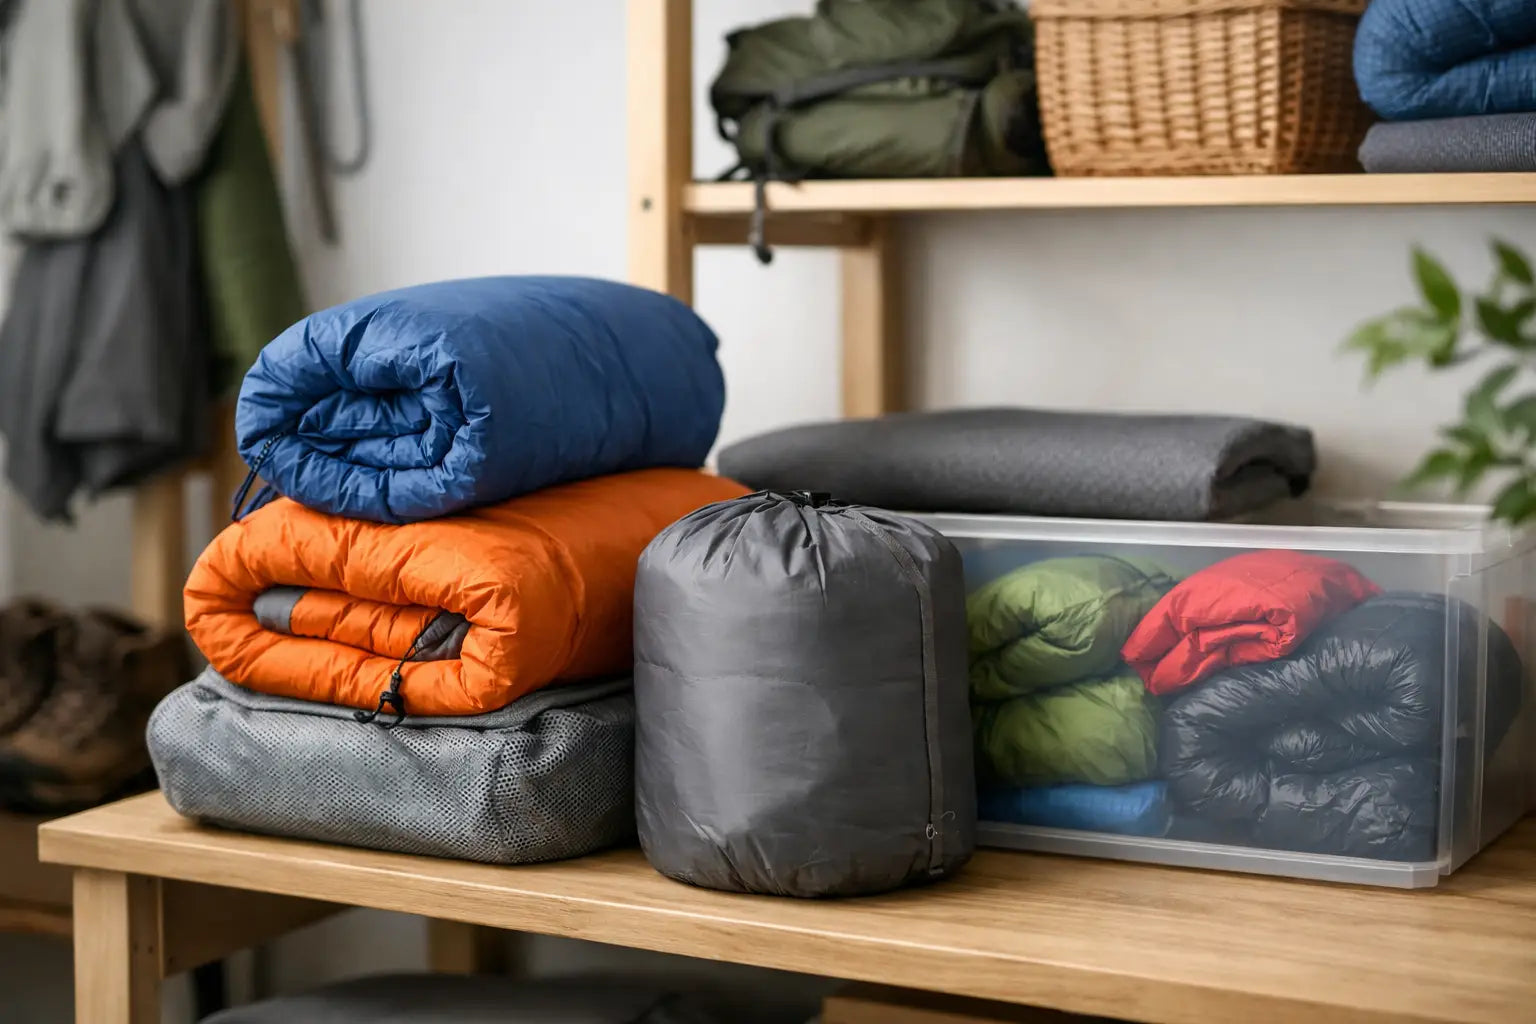

A sleeping bag can look perfectly fine in its stuff sack while quietly losing the loft that keeps you warm at camp. If your bag comes out flat, damp-smelling, or harder to fluff before a trip, storage is usually the reason. Knowing how to store sleeping bags properly protects one of the most important pieces of your sleep system and helps it perform when the temperature drops.
The big rule is simple: do not store a sleeping bag compressed for long periods. Stuff sacks are built for packing, not for months in the garage, closet, RV, or gear tote. Give the insulation room to expand, keep the bag dry, and clean it before putting it away. A little attention after each season can add years of comfortable nights under the stars.
Whether your sleeping bag uses down or synthetic insulation, trapped compression is the enemy. Insulation works by holding tiny pockets of air around your body. When it stays tightly packed for weeks or months, those fibers or down clusters can lose some of their ability to rebound. That means less warmth for the same bag weight.
Take the bag out of its small stuff sack as soon as you get home from a trip. Shake it out, unzip it fully, and let it air indoors until it is completely dry. Even if it did not get rained on, body moisture and humid overnight air can collect in the shell and lining.
For long-term storage, use the large mesh or cotton storage sack that came with the bag, if it has one. These sacks let insulation stay relaxed while allowing airflow. If you do not have one, a clean, breathable cotton laundry bag works well. Choose a size that lets the sleeping bag sit loosely rather than forcing it into a tight bundle.
A closet shelf is often the best place for most campers. You can also hang the bag loosely from wide loops or lay it flat beneath a bed, provided the space is dry and pest-free. Avoid thin hangers that put stress on one small section of the bag, especially with heavier cold-weather models.
The right container will not help much if the storage area is damp, hot, or exposed to pests. Basements, sheds, attics, and unconditioned garages can all work in some climates, but they are not automatically good choices. Temperature swings and moisture are what cause trouble.
A dry indoor closet is the safest option. It keeps your bag away from direct sun, standing water, and extreme heat while making it easy to grab before a last-minute weekend away. If your only choice is a garage or RV storage compartment, place the bag inside a breathable storage sack and then in a larger, clean bin with a secure lid. Do not seal a bag inside plastic if there is any chance it is holding moisture.
Keep sleeping bags away from gasoline, fuel cans, automotive fluids, and strong-smelling chemicals. Their odors can cling to fabrics and insulation. The same goes for mothballs and heavily scented dryer sheets. They are not a substitute for clean, dry storage, and the smell can make a bag unpleasant to use in a close tent.
Rodents are another reason to think carefully about a shed or garage. A plastic tote can provide useful protection in those spaces, but only after the sleeping bag is fully dry and stored loosely inside a breathable bag. Check it a few times through the off-season rather than forgetting it until the next campout.
Dirt, campfire smoke, skin oils, sunscreen, and bug spray gradually affect the fabric and insulation. You do not need to wash a sleeping bag after every trip, and overwashing can create unnecessary wear. But you should always air it out, spot-clean fresh stains, and make sure it is dry before storage.
If the bag has a strong odor, visible grime, or a sticky feel around the hood and collar, it is time for a full wash. Follow the care label first. Down bags need a cleaner made for down, while synthetic bags generally require a mild technical cleaner. Use a front-loading washer or a large commercial machine without a center agitator, which can damage baffles and seams.
Drying takes patience. Tumble dry on low heat, checking the bag often. For down bags, clean dryer balls can help break up clumps and restore loft. Never put a damp sleeping bag into a storage sack just because the outside feels dry. Feel the insulation in thicker areas, especially the footbox and hood. If there is any doubt, give it more time.
For quick cleanup between washes, wipe the shell with a damp cloth and mild soap, then air dry. A sleeping bag liner is also a smart addition for frequent campers. It catches much of the sweat and body oil that would otherwise end up in the bag, and it is far easier to wash after a weekend at the campground.
The storage rules are nearly identical, but the reason behind them differs slightly. Down insulation offers excellent warmth and packability, but it is more vulnerable to moisture and long-term compression. Give down bags plenty of loft during storage and be especially strict about drying them fully.
Synthetic insulation handles damp conditions better during a trip, making it a practical choice for humid camping, kids' gear, and unpredictable weather. Still, synthetic fibers can become permanently compressed over time. A synthetic bag left in a stuff sack all winter may not spring back as well as it once did.
Expensive expedition bags and lightweight backpacking bags deserve extra care, but every sleeping bag benefits from the same basic routine. Treat a budget-friendly family camping bag well, and it will stay comfortable for many more nights around the fire.
A few common habits shorten a sleeping bag's useful life. Avoid these mistakes:
A week before your next trip, pull the bag from storage and let it expand. Hang it up or lay it out overnight in a dry room. This gives the insulation time to regain loft and lets you catch issues before you are setting up camp after dark.
Check the zipper for grit, inspect seams and drawcords, and look for worn spots on the shell. Zip and unzip the bag slowly to make sure the slider is running cleanly. If it catches, remove debris with a soft brush instead of forcing it. A small repair at home is easier than dealing with a broken zipper when the overnight low is 35 degrees.
Pack the bag only when it is time to travel. For most camping and backpacking bags, stuffing rather than tightly rolling helps distribute compression across different sections each time. Once you reach camp, take it out of the stuff sack early so it can loft up before bedtime.
Good storage is simple gear maintenance with a real payoff: a warmer, fresher sleeping bag when the trip is on. Give it room, keep it dry, and your sleep system will be ready when it is time to gear up and get outside.