Your Cart is Empty


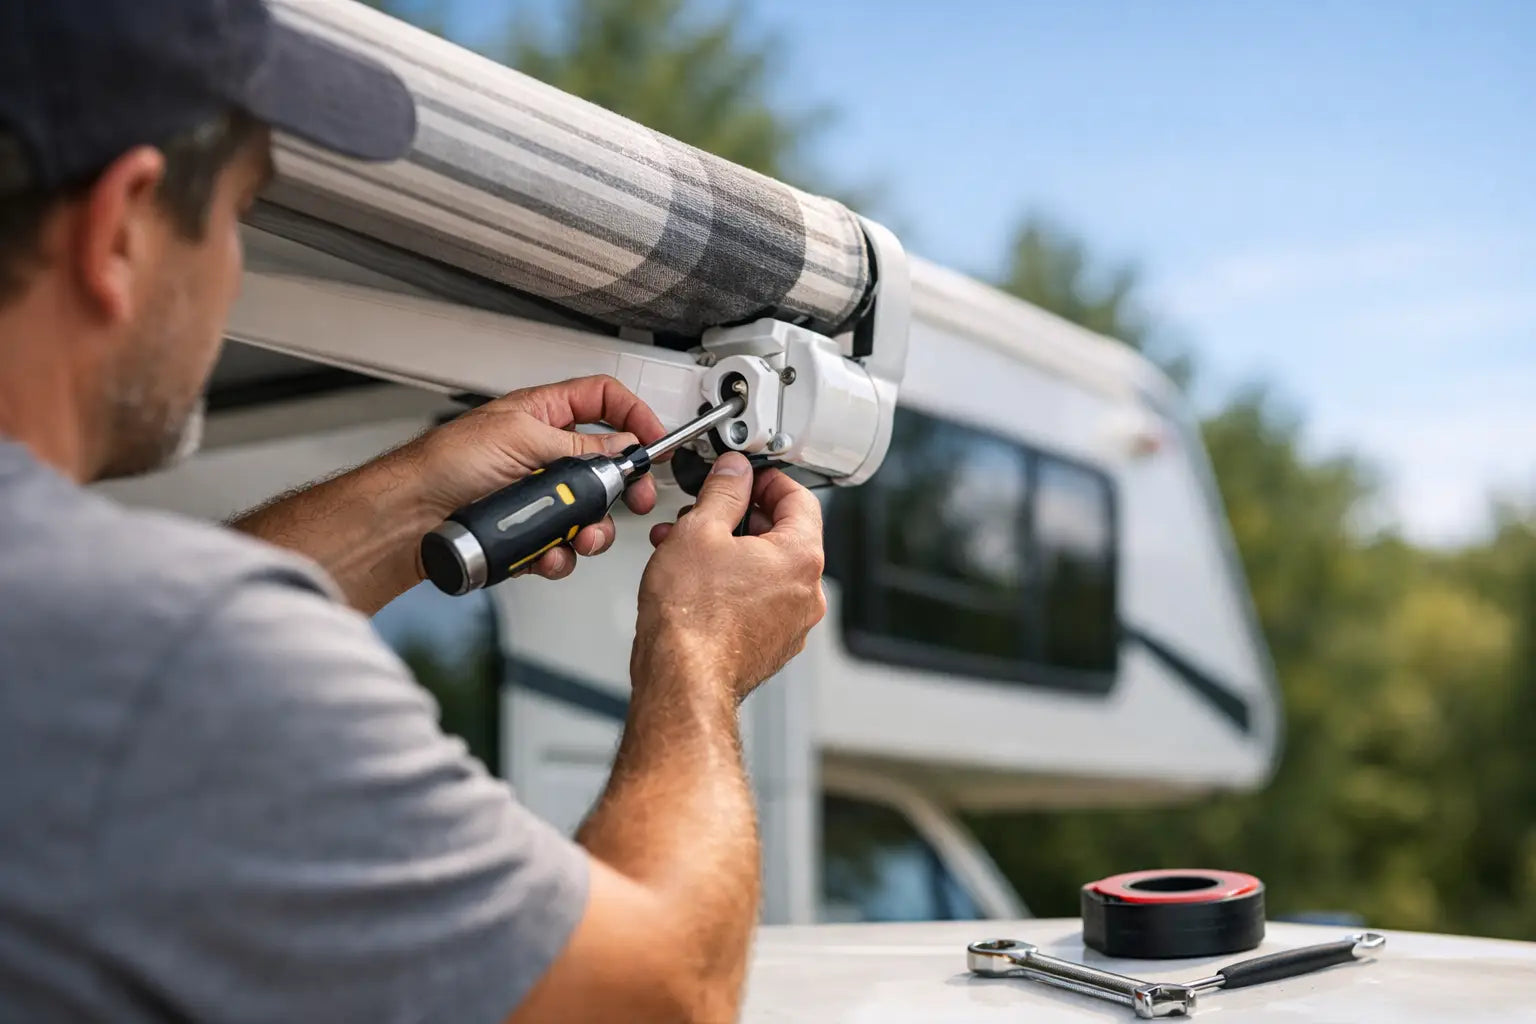

A torn awning or a stuck roller can turn a comfortable campsite into a hot, frustrating stop. The good news is that many RV awning repairs are manageable with a little patience, the right replacement parts, and a clear look at what failed before you start taking things apart. Handle the small problems early and your awning will be ready when you need shade, shelter from a light rain, or a more usable outdoor living space.
RV awnings look simple from the ground, but they work under spring tension and depend on several moving components. Before ordering fabric, arms, or hardware, extend the awning on level ground and inspect it in good light. Watch how it rolls out, listen for scraping or clicking, and look for obvious bending around the arms and mounting points.
A fabric issue usually shows up as tears, pinholes, loose stitching, mildew stains, or a sagging edge. Hardware trouble is more likely when the awning will not lock in place, sits crooked, binds during operation, or pulls away from the RV wall. On a powered model, a dead motor, stripped gear, damaged wiring, or weak battery connection may be the real cause.
Do not force an awning that is binding. A little resistance can become a bent arm, ripped fabric, or damaged roller tube fast. Retract it if you can do so safely, then inspect the arms, brackets, and roller for the source of the problem.
For practical RV owners, the best DIY jobs are repairs that do not require working against a loaded torsion spring or removing heavy components alone. Small fabric patches, replacement pull straps, new travel locks, loose fasteners, worn support knobs, and damaged tie-down points are usually straightforward. So are many arm adjustments, provided the arms are not cracked or badly bent.
A loose wall bracket deserves attention right away. Open the awning enough to reduce pressure on the bracket, then check whether the fasteners have backed out or the mounting surface has begun to fail. Replace corroded screws with appropriately sized RV-rated fasteners and seal around exterior penetrations as needed. If the wall itself is soft, water damaged, or separating, stop there. That repair may involve structural backing and should be assessed before you reinstall the bracket.
For sticky joints and sliders, clean away road grime and dried debris first. Use a lubricant suitable for awning hardware according to the manufacturer guidance. Avoid coating the fabric or roller with products that can attract dirt and create stains. Sometimes the fix is not a new part at all, but a thorough cleaning and proper adjustment.
Small holes and short tears in vinyl awning fabric can often be patched before they become a full fabric replacement. Clean the area with mild soap and water, let it dry completely, and use a patch material made for RV awning fabric. Apply patches on both sides when possible, keeping the edges smooth so wind cannot catch them.
A patch is a practical trail-season fix, not always a permanent answer. If the fabric is brittle, faded, deeply mildewed, or cracking in several areas, it has reached the end of its useful life. Replacing it before a long trip is usually less expensive and less stressful than dealing with a major tear at a windy campground.
A pull strap that is frayed or snapped is one of the simplest repairs. Match the replacement strap width and length to your roller channel, then feed it through with the awning partially extended and supported. For broken knobs, check the thread size and style before ordering. These small pieces matter because they secure the awning arms during setup and travel.
Take a photo of the hardware before removing it. RV awning components can look similar across brands but use different dimensions, fittings, and lock styles. A quick photo and a few measurements can prevent an avoidable return.
New fabric can make an older RV look better and provide years of useful shade, but it is not a five-minute job. The fabric slides through channels in the roller tube and awning rail, and the roller assembly carries significant spring tension. Many experienced owners can complete the job with two or three people, a stable work area, and the correct instructions for their awning model.
Measure carefully before buying. You typically need the fabric measurement from the center of one arm to the center of the other, not simply the overall length of the roller tube. Confirm the fabric type as well. Vinyl is common, easy to clean, and good at shedding rain, while acrylic fabric is breathable and can feel cooler beneath it. Acrylic often costs more and requires different cleaning habits.
If you replace fabric yourself, plan the work when the weather is calm. Keep the roller tube supported, mark the position of end caps and hardware, and never release a spring assembly without following the specific manufacturer procedure. This is where saving a few dollars is not worth an injury or a damaged RV sidewall.
A power awning that does nothing when you hit the switch may have a simple electrical problem. Start with the RV battery charge, fuse or breaker, and switch connection. Look for loose or pinched wiring near the arm and inside the coach where wires pass through the wall.
If the motor hums but the awning does not move, the issue could be a worn gear or internal motor failure. If one side moves while the other lags, inspect the arms for obstruction and check whether the roller is sitting squarely. Do not keep cycling the switch when the awning is crooked. That can twist the tube and put unnecessary strain on the motor.
Powered awnings are convenient, but their convenience comes with more electrical components to diagnose. If wiring is hidden behind interior panels, the motor has failed, or the awning is stuck partially open before travel, a qualified RV technician can be the faster and safer choice.
Some repairs are better left to a service professional, especially when the roller tube, torsion spring, or main arm assembly is damaged. These parts can move suddenly under tension. Professional help also makes sense if the mounting rail is pulling away from the RV, there is evidence of water intrusion, or a powered awning has an electrical fault you cannot trace safely.
Call for help when you see any of these conditions:
Most awning damage comes from wind, neglect, or travel with something not fully latched. Retract the awning whenever you leave camp and anytime wind starts building. Even a sturdy awning can catch a sudden gust like a sail. Tie-downs and support accessories can add stability during calm use, but they are not a reason to leave an awning out in changing weather.
Clean the fabric a few times each season with mild soap, water, and a soft brush. Let it dry before storing it to reduce mildew. Check arm joints, fasteners, and locks before every major trip, especially after rough roads or long storage. A quick inspection takes minutes and can reveal a loose screw or frayed strap before it becomes a trip-ending repair.
Keep a small RV maintenance kit stocked with compatible fasteners, a fabric patch kit, cleaning supplies, a pull strap, basic hand tools, and a few spare fuses. Outdoor Up is built around that kind of readiness: gear that helps you solve the problem and get back to the part of the trip you planned for.
Your awning does not need to be perfect to be useful, but it does need to be secure. Fix the small issues at home, respect the parts that carry tension, and you will spend more evenings under reliable shade instead of troubleshooting in the campground.