Your Cart is Empty



The first glass of water after setting up camp should not taste like a garden hose, a swimming pool, or last season's storage tank. A good rv water filter guide starts with one simple idea: your water setup should match where you travel, how long you stay, and what you expect from the water coming out of your faucet.
For many RV travelers, a basic inline filter is enough to improve taste and reduce sediment at developed campgrounds. Others need a more capable setup for long stays, questionable hookups, well water, or boondocking. The right choice is not always the biggest or most expensive filter. It is the one that gives your crew dependable water without adding unnecessary bulk, cost, or maintenance to travel day.
Campground water can vary dramatically from one stop to the next. A municipal hookup may be disinfected with chlorine or chloramine. A rural campground may draw from a well with minerals, sediment, or sulfur odor. Even clean water can pick up an off taste from aging pipes, a weathered spigot, or your own hose.
Most RV water filters are designed to improve water quality, not solve every possible water safety problem. Carbon media commonly reduces chlorine taste and odor, while sediment filtration catches dirt, rust, sand, and other particles. More advanced systems may target cysts, bacteria, heavy metals, or specific contaminants, but only when the filter is rated for that job.
That distinction matters. Do not assume any small hose-end filter makes unsafe water safe to drink. If a campground posts a boil-water advisory, has visibly contaminated water, or you are filling from an uncertain source, use a treatment method specifically rated for the risk or bring known potable water. A filter is a strong layer of preparedness, not a reason to ignore local water warnings.
Before buying, think through your usual trips. Weekend campers at maintained RV parks have different needs than full-time travelers, families with young kids, and anglers who spend weeks moving between remote lakeside sites. Your water source and consumption habits should drive the setup.
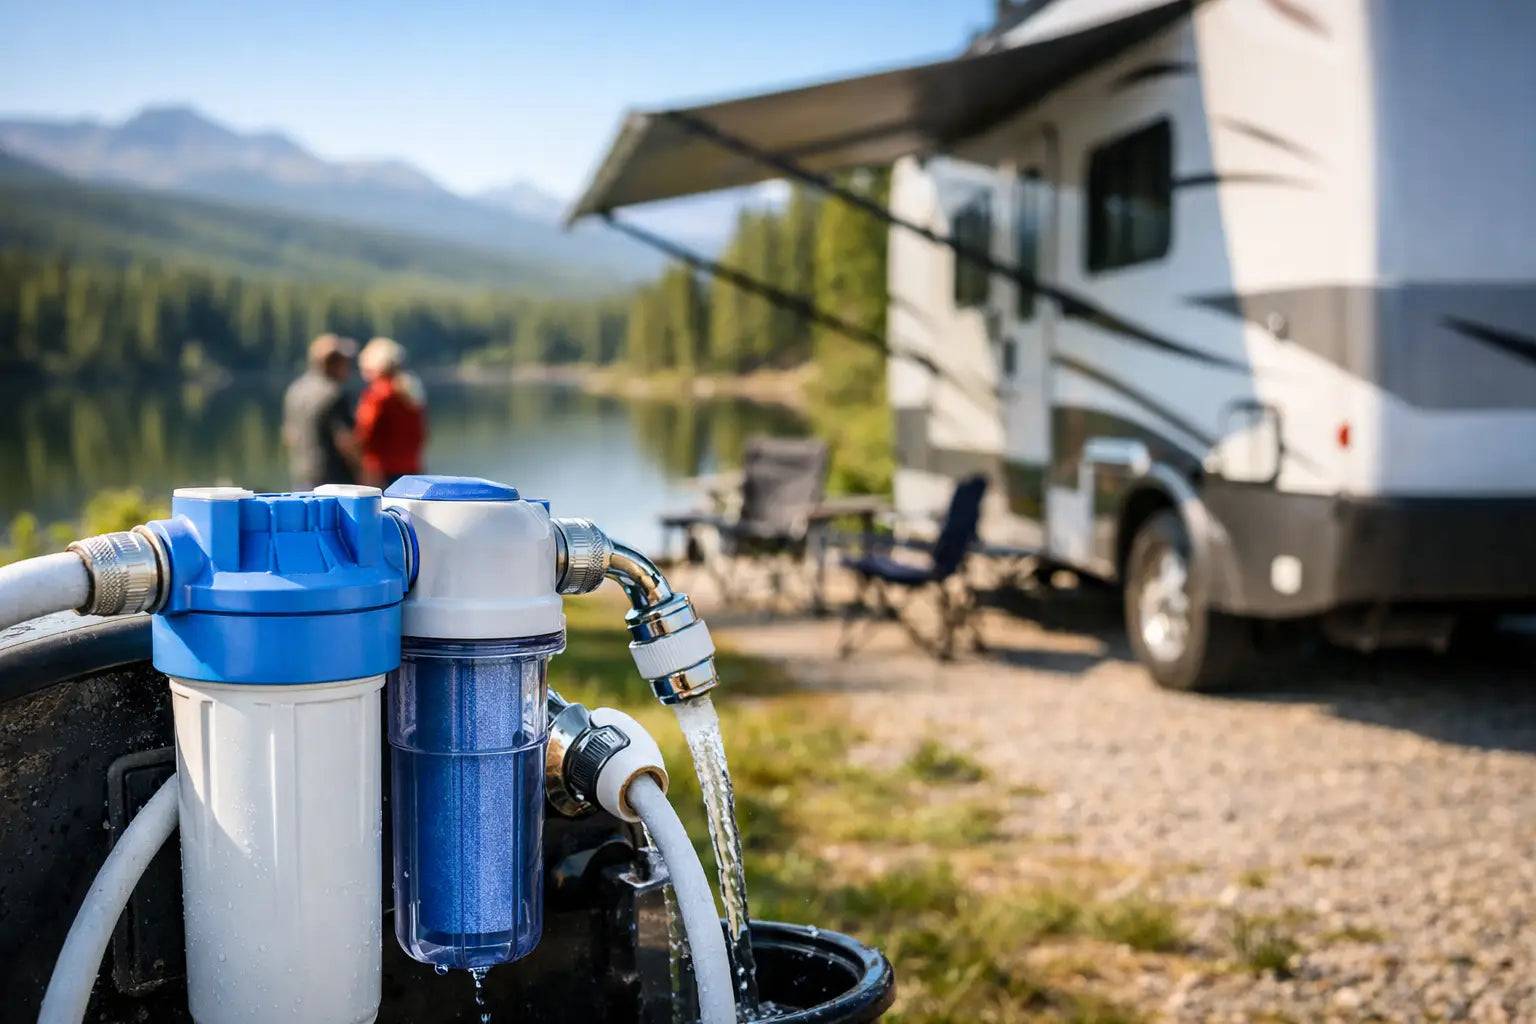
An inline RV filter connects directly between the campground spigot and your drinking-water hose. It is compact, affordable, and easy to store, making it a practical starting point for most campers. These filters typically use carbon to reduce unpleasant taste and odor while trapping some sediment.
The trade-off is capacity and filtration depth. An inline filter is convenient, but it may not handle very dirty water for long, and many models offer limited protection against finer contaminants. It is best for routine campground hookups where the water is considered potable but could use a cleaner taste.
A canister-style system uses replaceable cartridges, often with a larger sediment filter followed by a carbon block filter. This approach is a smart step up for frequent travelers because you can choose cartridges based on local conditions and replace only the filter media when needed.
A two-stage system is especially useful when you encounter silty or rusty water. The first stage captures larger particles before they clog the carbon filter, helping the second stage last longer. It takes more room in a storage bay and requires a little more setup, but the added control pays off on longer trips.
If your RV is your seasonal home or you spend long stretches connected to unfamiliar water supplies, a multi-stage system can make daily water use more consistent. These setups can combine sediment, carbon, and specialty cartridges for finer filtration.
More stages do not automatically mean better results. Every cartridge adds cost, space, and potential flow restriction. Choose stages that solve a real problem you expect to face, rather than building a complicated system for a once-a-year scenario.
Some RVers add filters near the water pump or at a dedicated drinking-water faucet. These options protect water stored in the fresh tank or provide a final polish before drinking and cooking. They work well alongside an exterior hose filter, especially for travelers who fill their tanks and camp without hookups.
Remember that a fresh-water tank needs its own care. A great filter cannot fix a tank that has not been cleaned or sanitized. If water sits for extended periods, follow your RV manufacturer's sanitation guidance before your next trip.
The product label tells you more than the marketing copy. Look for the filter's intended use, micron rating, flow rate, cartridge life, and the contaminants it is certified or specifically rated to reduce. A micron rating describes the size of particles a filter can catch, but it does not tell the whole story. A very fine filter can improve particle removal while slowing water flow or clogging faster in dirty conditions.
For most RV hookups, you want enough flow for normal showers, dishwashing, and tank filling without creating a frustrating trickle at the faucet. Larger canisters and wider hoses generally support better flow than compact filters. In cold weather, also remember that filters and hoses are vulnerable to freezing. Drain them before temperatures drop below freezing.
Make sure the fittings match your potable-water hose and common RV connections. Use a dedicated white or blue drinking-water hose, not the hose you use to rinse mud off bikes or wash down gear. A pressure regulator belongs in the same conversation. Many campground water systems run at pressures that can stress RV plumbing, and a regulator helps protect your lines, fittings, and appliances.
A dependable hookup order is straightforward: campground spigot, pressure regulator, filter, drinking-water hose, then RV inlet. Some travelers place the filter before the regulator, while others follow the order recommended by their equipment maker. The key is using components rated for potable water, keeping connections clean, and avoiding cross-contamination.
Before connecting at a new campsite, inspect the spigot. If the threads are packed with dirt or the faucet looks damaged, clean it carefully and use a barrier fitting if you carry one. Flush the spigot briefly before attaching your gear. This helps clear standing water and loose debris from the line.
Once connected, run water through the filter for the time listed in its instructions. Carbon filters may release harmless black fines during the first flush, so let the water run until it clears. Check every connection for drips before walking away. A slow leak can turn into a soaked storage bay or a high-water surprise overnight.
Keep your filter off the ground when possible. A simple hose support, storage bin, or protected compartment helps keep it out of puddles, dirt, and direct sun. Sunlight and heat can shorten the life of plastic housings and encourage unwanted growth on wet exterior equipment.
When you break camp, drain the filter according to its instructions and cap the hose ends. Do not toss a wet filter loose into a dirty compartment beside leveling blocks, fuel containers, or fishing gear. Clean storage protects the part of your RV setup your family uses every day.
Waiting until water tastes bad is not the best replacement plan. Sediment filters can clog without changing the taste, and carbon filters can lose effectiveness gradually. Start with the manufacturer's rated capacity or time interval, then adjust based on your use and water conditions.
Replace a cartridge sooner if water flow drops noticeably, the filter is visibly discolored, water develops an unusual taste or odor, or you have traveled through unusually silty areas. Keep a spare cartridge or backup inline filter in the RV if you take longer trips. It is a small piece of gear that can save a lot of hassle when the nearest store is miles down the road.
Use this quick maintenance routine throughout the season:
A water filter works best as part of a complete RV water plan. Carry a potable-water hose, an adjustable pressure regulator, a few spare washers, and a clean storage bag or bin. If your trips include dry camping, keep enough drinking water on hand that you are not forced to rely on a questionable source.
Start with the filter that fits the trips you take now, then upgrade when your travel demands change. Clean, dependable water makes coffee better, meals easier, showers more comfortable, and every stop feel a little more like home. Gear up before the next departure, and spend more time enjoying the road ahead.