Your Cart is Empty


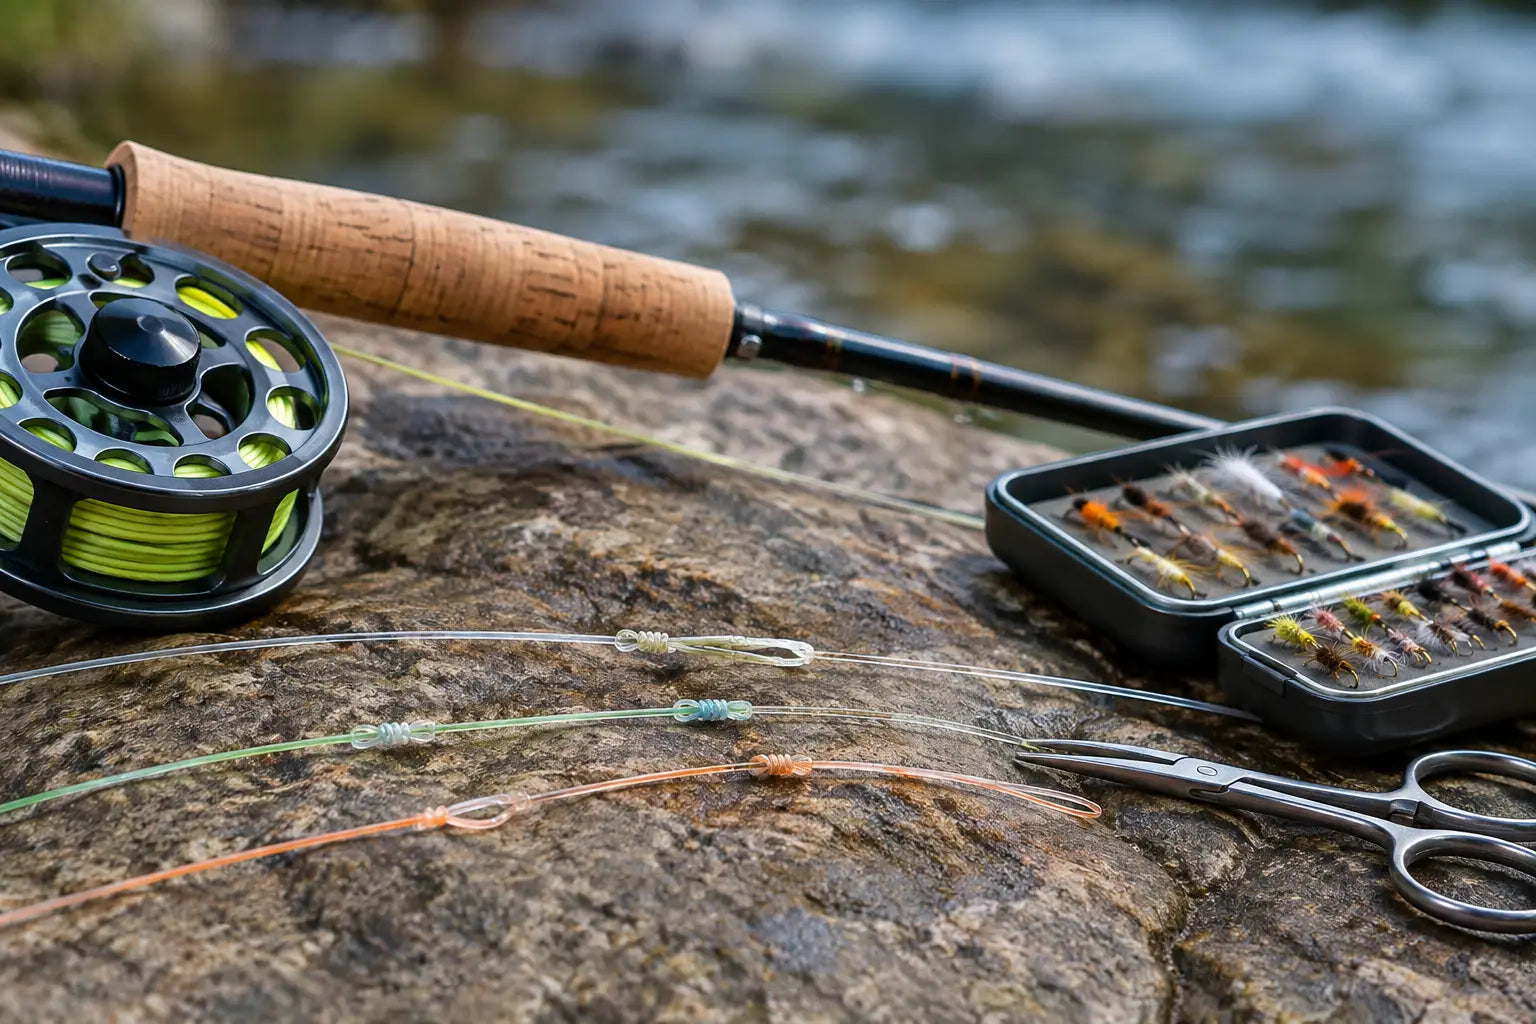

A trout rises once along the far seam, and your fly lands exactly where it should. Then the line comes tight. That is not the moment to wonder whether your connection will hold. The top fly fishing knots are simple enough to learn at home, quick enough to tie beside the river, and strong enough to let you fish hard when the opportunity arrives.
You do not need a different knot for every piece of gear in your pack. A dependable knot system covers the essentials: attaching backing, connecting fly line and leader, adding tippet, and securing a fly. Learn these eight, practice them with the line sizes you actually use, and you will spend less time rebuilding rigs and more time making good casts.
The Arbor Knot attaches backing directly to the reel spool. It is usually the first knot in a fly setup, and it is easy to overlook because most anglers hope they will never see it. But when a big fish runs deep, properly installed backing is part of the system that keeps you connected.
Wrap the backing around the spool and tie an overhand knot around the standing line. Then tie a second overhand stopper knot in the tag end. Pull the standing line to snug the first knot down against the spool. The knot is not designed for maximum breaking strength because the spool supports the load. Its job is to stay in place and keep the backing from slipping freely around the arbor.
Add backing under steady tension. Loose backing can dig into itself under pressure, making the reel feel jerky when a fish runs. Keep the line level across the spool and leave enough room for your fly line.
The Albright Knot is a reliable choice when connecting backing to fly line without factory-welded loops. It creates a slim connection that passes through rod guides cleanly and handles materials with very different diameters.
Make a loop in the fly line, run the backing through it, then wrap the backing back over itself and both strands of fly line. Ten to 12 neat wraps are usually enough. Bring the tag end back through the same side of the loop where it entered, wet the knot, and tighten gradually.
This knot works best when the wraps sit side by side instead of crossing. If the finished connection looks bulky or uneven, cut it off and retie it before loading the line. A clean knot now is better than discovering a weak spot when a fish reaches the backing.
The Nail Knot remains a favorite for a permanent, streamlined fly line-to-leader connection. It is especially useful when you want a low-profile setup for casting small dry flies or when your fly line has no loop at the tip.
The knot can be tied around a small tube, nail, or purpose-built nail-knot tool. Place the leader butt alongside the fly line, form six to eight tight wraps, and pull the leader through the wrap tunnel. Lubricate it and tighten slowly, alternating pressure between the standing line and tag end.
A Nail Knot takes more practice than a loop-to-loop connection, but its smooth profile is worth the effort for anglers who prefer a direct leader connection. Trim tags close, but do not nick the fly line coating while cutting.
If your fly line and leader both have welded or perfection loops, loop-to-loop is the quickest way to build a rig. Pass the leader loop through the fly line loop, then bring the leader tip and spool through its own loop. Pull it snug so the loops seat together.
This connection is practical for anglers who switch between dry-fly leaders, nymph leaders, and heavier bass or streamer leaders during the same season. It is fast, dependable, and easy to change with cold fingers. The trade-off is a slightly bulkier connection than a Nail Knot, which can collect debris in weedy water or make a small click through the guides. For most everyday fishing, that is a fair trade for the convenience.
The Blood Knot is a classic for joining two similar-diameter pieces of monofilament or fluorocarbon. It creates a straight, compact connection that transfers energy well through a tapered leader. Use it when building custom leaders or replacing a section of tippet with a close diameter match.
Overlap the two sections by several inches. Wrap one tag end around the opposite line five to seven times, then bring it back through the center. Repeat with the other tag end in the opposite direction. Wet the wraps and pull all four ends evenly until the coils tighten together.
The Blood Knot is strong and streamlined, but it demands clean wraps and a little patience. It becomes less forgiving when line diameters are far apart. For a quick bank-side repair, many anglers choose the Surgeon’s Knot instead.
The Double Surgeon’s Knot is one of the most useful knots in fly fishing because it is fast, strong, and easy to tie in poor conditions. It joins leader to tippet, connects two tippet sections, and works reasonably well even when the diameters differ slightly.
Lay the lines parallel with several inches of overlap. Form a loop with both lines together, then pass both tag ends through the loop twice. Wet the knot and pull the standing lines slowly while guiding the wraps into place. Trim the tags after the knot has fully seated.
It is bulkier than a Blood Knot, so it is not always the first choice for delicate dry-fly presentations. Still, when light is fading, wind is pushing through the canyon, or fish are feeding and you need a fresh tippet section fast, this knot earns its place.
The Improved Clinch Knot is the workhorse fly attachment for many anglers. It is easy to remember, ties quickly, and works well with standard hooks, nymphs, dry flies, and smaller streamers.
Pass tippet through the eye, make five to seven wraps around the standing line, and bring the tag through the small loop near the hook eye. Then pass it through the larger loop that forms. Moisten the knot and pull steadily on the standing line while holding the tag end.
Use fewer wraps with heavier tippet and more wraps with fine tippet. Check that the knot seats neatly against the eye without overlapping coils. With very heavy fluorocarbon, a standard Clinch or a loop knot may be easier to tighten cleanly.
A Non-Slip Loop Knot leaves a small loop ahead of the fly, giving streamers, poppers, and larger baitfish patterns more freedom to move. That extra action can matter when you are stripping a woolly bugger through current or working a bass fly along cover.
Start with an overhand knot several inches above the tag end. Pass the tag through the fly eye, back through the overhand knot, then make four or five wraps around the standing line. Bring the tag back through the overhand knot from the same direction it exited. Wet it, set the loop size, and tighten carefully.
Do not make the loop oversized. You want the fly to pivot naturally, not swing wildly. This knot is less necessary for tiny dry flies, where a compact knot at the eye usually offers a cleaner presentation.
Knot strength is not only about choosing the right pattern. Heat, damaged line, poor wraps, and rushed tightening cause more failures than most anglers realize. Always wet monofilament or fluorocarbon before cinching a knot. Water reduces friction and helps prevent the line from weakening as it tightens.
Inspect the first few feet of leader and tippet after catching fish, scraping rocks, or pulling free from branches. Run the line lightly through your fingers. If it feels rough, curled, or nicked, replace that section instead of trusting it on the next cast. A fresh two-foot tippet section costs far less than a favorite fly or the fish that finally eats it.
Practice with thick cord or old leader material before trying a new knot with 5X tippet. Learn the hand motions first, then work down to finer line. Keep compact nippers, forceps, and a small spool of tippet in an accessible pocket so repairs stay quick and organized.
The best knot is the one you can tie correctly when rain starts, your hands are cold, and fish are feeding. Build that confidence before the trip, check each connection on the water, and let your next good cast do the work.