Your Cart is Empty
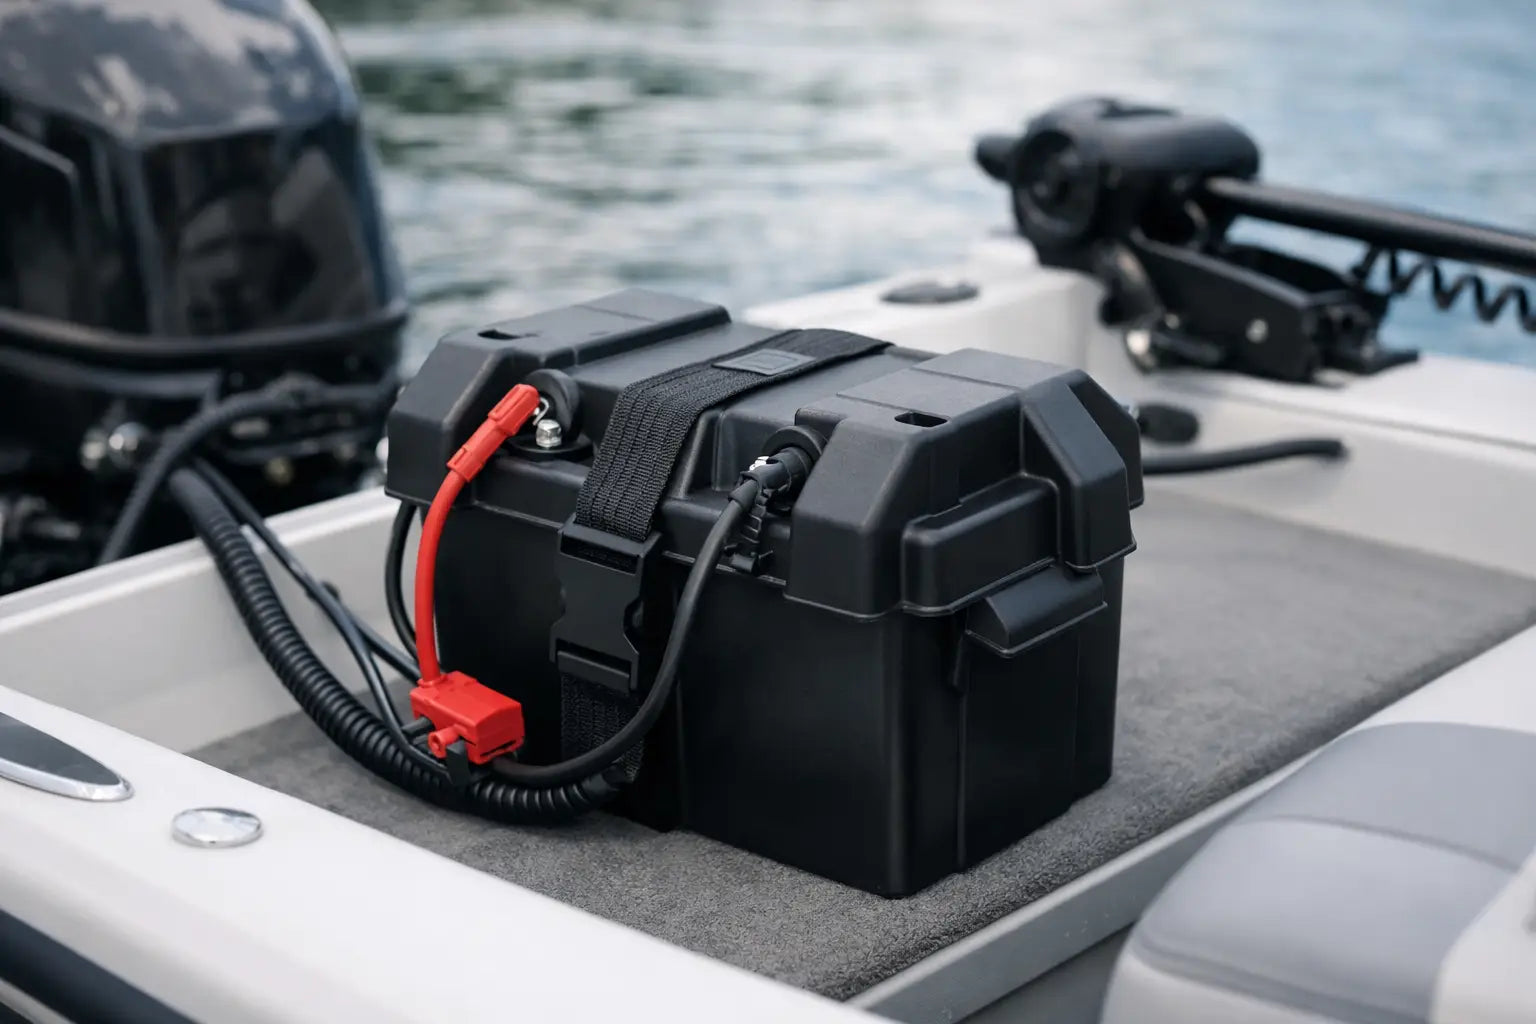

Marine Battery Box Setup Done Right
A dead trolling motor at first light is annoying. A loose battery sliding in rough chop is a real problem. A good marine battery box setup does more than keep things tidy - it protects your power source, helps prevent damage, and makes your boat safer and easier to use.
If you are rigging a jon boat, bass boat, skiff, or small utility craft, the battery box deserves more attention than it usually gets. The right setup depends on your battery type, how much gear you run, and how hard your boat gets used. There is no one-size-fits-all answer, but there are a few rules that make almost every install better.
Why your marine battery box setup matters
On the water, vibration, moisture, heat, and sudden movement all work against your electrical system. A battery box helps contain the battery, shields terminals from accidental contact, and gives you a cleaner way to route cables. On smaller boats, it can also keep weight placement more predictable, which matters for balance and performance.
A cheap or rushed install usually shows itself fast. Straps loosen. Lids crack. Cables rub against sharp edges. Corrosion starts building where connections were left exposed. None of that helps when you are trying to start the outboard, run fish finders, power lights, or hold on a spot with a trolling motor.
The goal is simple - secure power, safe connections, and easy access for charging and maintenance.
Start with the right battery box
Not every box fits every boat or battery. The first step is matching the box to the battery group size and the way you actually use the boat. A box that barely fits can pinch cables or make it hard to close the lid. One that is too large may let the battery shift unless the hold-down system is excellent.
Most boaters are choosing between a basic plastic battery box and a more advanced power station style box with built-in breakers, plug ports, or meter displays. A basic box works well if you want a simple, affordable setup and do not mind handling your own fuse protection and cable routing. A power station box can be a smart move for small boats with trolling motors and accessories, especially if you want a cleaner install without building a separate panel.
Battery type matters too. Flooded lead-acid batteries are still common and budget-friendly, but they need more care and should be mounted where ventilation is not ignored. AGM batteries are more spill-resistant and generally lower maintenance. Lithium batteries save weight and hold voltage well, but they cost more up front and may require a charger and system components that are compatible.
Before you buy anything, check three things: battery dimensions, terminal style, and whether your lid will still close once heavy-gauge cables are attached.
Where to place the box on the boat
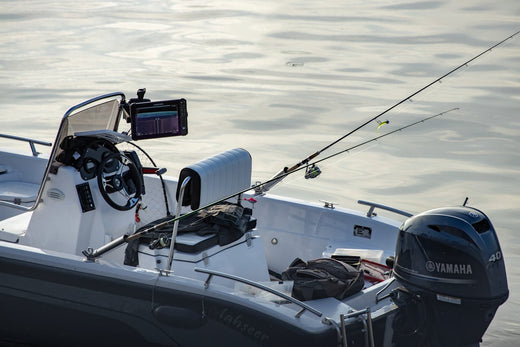
The best marine battery box setup is not just about the box itself. Placement changes how the whole system performs. In most cases, you want the battery low, secure, and protected from standing water. You also want it close enough to the equipment it powers that cable runs stay reasonable.
On small fishing boats, stern mounting is common because it keeps the battery near the outboard and often near the trolling motor plug if the motor is transom-mounted. But stern-heavy boats can squat more at takeoff or ride poorly when loaded. If you are running a bow-mount trolling motor, shifting battery weight toward the center can help balance the hull, though it may require longer cable runs.
There is always a trade-off. Shorter cables reduce voltage drop and usually cost less. Better weight distribution can improve handling. The right choice depends on your hull, motor layout, and how much gear you carry.
Whatever location you choose, do not set the box where gear gets piled on top of it, where water regularly collects, or where fuel system components crowd the battery area.
Secure mounting is non-negotiable
A battery box should not just sit in place because it feels heavy enough. Boats slam, bounce, and shift. The box needs to be mounted so it stays put in rough water, during trailering, and when the boat takes a sudden wake at an angle.
Most setups use a base tray with a strap or heavy-duty hold-down. That is fine if the tray is anchored properly to a solid surface. Thin decking or weak fasteners can fail faster than people expect. If you are mounting to aluminum or fiberglass, use hardware that fits the surface and spreads load well. If needed, add backing plates or reinforcement underneath.
The strap should hold the battery firmly without crushing the box. Give it a tug after installation. Then check it again after a few trips. New setups sometimes loosen once the boat has seen real vibration.
Wiring your marine battery box setup the smart way
This is where many good installs go bad. The battery box may look clean from the outside, but poor cable sizing or missing circuit protection can turn into unreliable power or a safety issue.
Use marine-grade wire whenever possible. It handles the wet environment better than standard automotive wire and resists corrosion more effectively. Match wire gauge to the load and the cable length. A trolling motor pulling serious amperage needs heavier cable than a fish finder or bilge pump.
Fuse protection matters. Any accessory circuit connected to the battery should be protected correctly, and the fuse or breaker should be installed close to the power source. That way, if a wire shorts, the system has a better chance of stopping the fault before heat builds up in the cable.
Keep cable runs neat and supported. Wires should not rub on metal edges, get pinched under lids, or hang loose where tackle boxes and anchors can hit them. Use loom, clamps, or grommets where needed. Clean routing is not just about looks. It helps the system last.
Don’t ignore terminal protection
Exposed battery terminals are trouble waiting to happen, especially in a boat where tools, pliers, and loose gear move around. Use terminal boots or covers, and make sure connections are tight without being over-torqued.
A light coat of corrosion protection on terminals can help, particularly in saltwater or brackish conditions. If you see white, green, or crusty buildup, deal with it early. Corrosion increases resistance, and resistance steals performance.
Venting, charging, and maintenance access
A lot of people think “sealed box” means “better box.” That is not always true. Some batteries and setups need ventilation more than they need total enclosure. Follow the battery manufacturer’s guidance, especially if you are using flooded lead-acid batteries.
You also want to think about charging before the battery box is permanently installed. Can you remove the lid easily? Can you reach the terminals? Is there room for charger leads, or are you planning to use a quick-connect plug? A setup that is awkward to charge often gets neglected.
If you use an onboard charger, make sure the wiring is protected and the charger is mounted where it stays dry and ventilated. If you charge with a portable unit at home, leave yourself enough space to connect it without pulling half the boat apart.
Plan for routine checks
The best battery setup is one you will actually maintain. You should be able to inspect straps, cables, and terminals without a major teardown. If water gets in the bilge area, make sure the box and wiring can still be checked quickly after a trip.
That matters even more for anglers and weekend boaters who store their boats between outings. A five-minute inspection can catch a loose connection long before it ruins a day on the water.
Common setup mistakes to avoid
The most common mistake is undersizing the box or overpacking the compartment around it. Batteries need room for secure fitment and safe cable routing. Cramped installs lead to stressed wires and lids that never quite sit right.
Another mistake is skipping overcurrent protection. A battery can deliver a lot of energy in a hurry. If a cable shorts and there is no fuse or breaker in the right place, things can go bad fast.
Poor hardware choice is another one. Indoor screws, bargain straps, and non-marine connectors may seem fine at first, but water and vibration expose weak points quickly. Reliable gear pays off here.
And finally, do not build a setup that only works when the boat is sitting in the driveway. Test it under real conditions. Run the trolling motor. Check electronics under load. Open the lid after a rough ride and make sure nothing shifted.
Building a setup that fits your boat
A small lake boat with one deep-cycle battery does not need the same approach as a multi-battery offshore rig. If your setup is simple, keep it simple. A properly sized box, secure mount, good cables, and correct fuse protection may be all you need.
If your boat runs multiple accessories, dual batteries, or a dedicated electronics circuit, think in systems. Battery boxes, trays, switch panels, chargers, and breakers should all work together. That is where planning pays off. You spend less time troubleshooting later and more time actually using the boat.
For practical buyers, this is the sweet spot - dependable gear, installed the right way, without overspending on features you do not need. That approach fits how Outdoor Up thinks about getting outside more: buy smart, rig it right, and count on it when the day starts early.
A solid battery box setup is not flashy, but it earns its keep every trip. When your power stays protected, your wiring stays clean, and your battery stays where it belongs, the whole boat feels more ready for the next launch.
Also in News
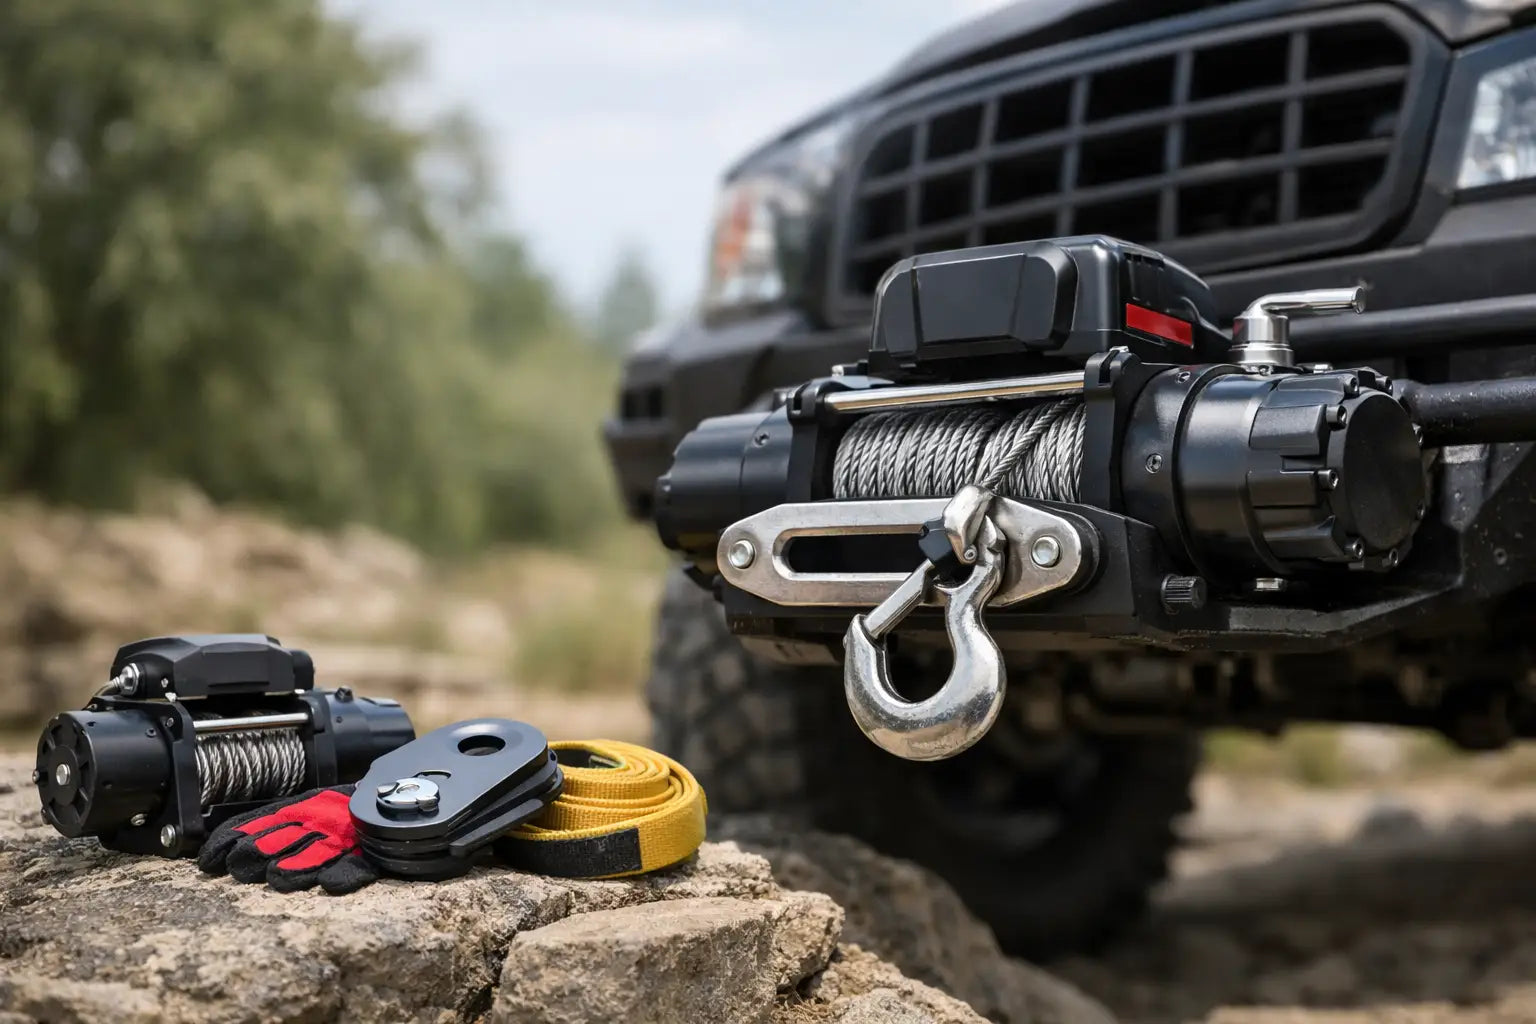

What Size Winch Do I Need? A Practical Guide
Wondering what size winch do i need? Match capacity to your vehicle, trailer, load, terrain, and recovery setup for safer pulls outdoors with confidence.
Read More

Are Polarized Sunglasses Worth It Outdoors?
Are polarized sunglasses worth it for fishing, boating, driving, and trail days? See how glare control, lens color, and cost affect your next outing today.
Read More

How to Layer Camping Clothing for Any Forecast
Learn how to layer camping clothing for cool mornings, wet trails, and cold nights with practical gear choices that keep every trip comfortable outside.
Read More


Related products
Select products to display